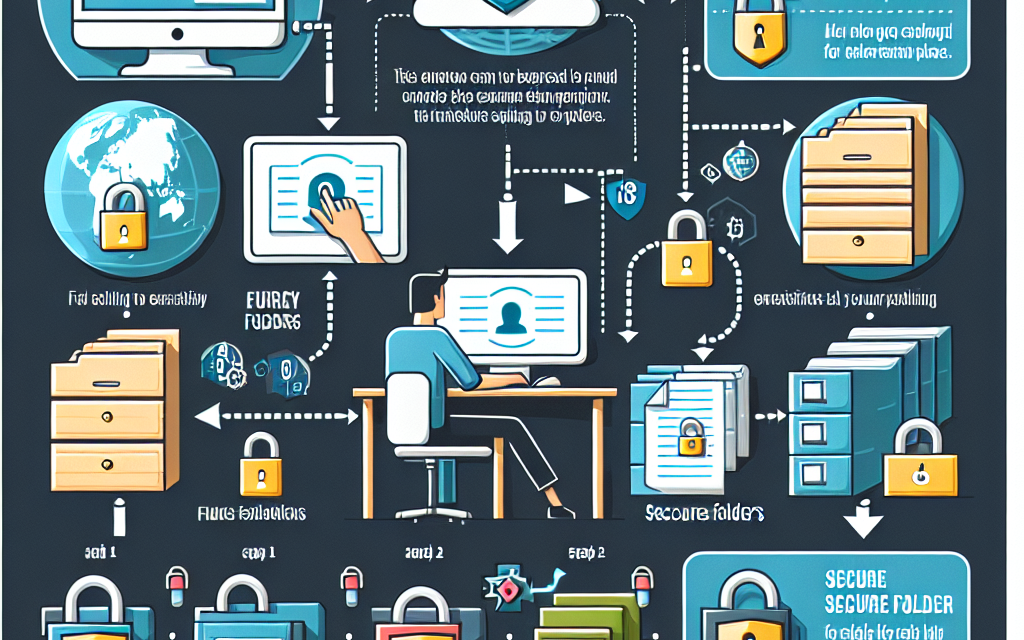
In today’s digital landscape, safeguarding sensitive data is paramount for organizations of all sizes. Windows Server provides several methods to ensure data security, and one of the most effective ways to protect your files is by encrypting folders. In this article, we will guide you through the process of encrypting folders on Windows Server, highlighting the benefits of encryption and offering step-by-step instructions.
Why Encrypt Folders?
Encryption transforms readable data into an unreadable format, making it inaccessible to unauthorized users. There are several reasons to encrypt folders on your Windows Server:
- Data Protection: Protects sensitive information from unauthorized access.
- Compliance Requirements: Meets regulatory standards for data protection and privacy (e.g., GDPR, HIPAA).
- Mitigates Risks: Helps in minimizing the impact of data breaches or theft.
How to Encrypt Folders on Windows Server
There are primarily two methods to encrypt folders on Windows Server: using Windows Encrypted File System (EFS) and using BitLocker. Below, we will explore both methods.
Method 1: Encrypting Folders with EFS
EFS provides an easy way to encrypt files and folders on NTFS file systems. Follow these steps:
Step 1: Enable EFS
- Log in to your Windows Server with administrative privileges.
- Open File Explorer and navigate to the folder you want to encrypt.
- Right-click on the folder and select Properties.
- Go to the General tab and click on the Advanced button.
Step 2: Encrypt the Folder
- In the Advanced Attributes window, check the box that says "Encrypt contents to secure data."
- Click OK, then click Apply in the Properties window.
- You will be prompted to choose whether to encrypt just the folder or the folder and all of its subfolders and files. Choose the option that suits your needs and click OK.
Step 3: Back Up Your Encryption Key
- As a safety precaution, you should back up your encryption key. To do this, right-click on This PC and select Manage.
- In the Computer Management window, go to Local Users and Groups and click on Users.
- Right-click on your user account and select All Tasks, then choose Export User Certificate to save the certificate and private key to a location of your choice.
Method 2: Encrypting Drives with BitLocker
BitLocker is a drive encryption feature that encrypts entire volumes, enhancing security on your Windows Server.
Step 1: Enable BitLocker
- Open the Server Manager from the Start menu.
- Navigate to the File and Storage Services section.
- Select Volumes and choose the volume you wish to encrypt.
- In the context menu, click on Enable BitLocker.
Step 2: Configure BitLocker Settings
- Choose your preferred unlocking method (a password or a smart card) from the options provided.
- If desired, select to automatically unlock the drive on this computer.
- You will be prompted to back up your recovery key. Choose a safe location for this key (USB drive, Microsoft account, etc.), as it is essential for accessing your encrypted data if you forget your password.
- Click Next, then choose how much of the drive to encrypt (entire drive or used space only), and select the encryption mode (New encryption mode is recommended for fixed drives).
Step 3: Start Encryption
- Once you’ve configured all settings, click on Start Encrypting. The encryption process may take some time depending on the size of the volume.
Conclusion
Encrypting folders and drives on Windows Server is a crucial step towards safeguarding your organization’s sensitive data. Whether you choose EFS for individual files and folders or BitLocker for whole volumes, both methods offer robust protection against data breaches and unauthorized access. Remember to back up your encryption keys to ensure you can regain access to your data in the event of a lost password.
For further tips and guides on enhancing your server security, be sure to follow WafaTech Blogs. Stay secure and protect your valuable information today!


