Creating a knowledge base can significantly enhance user experience on your website, providing your audience with easy access to information and resources. Whether you are running a tech support site, an educational platform, or a business website, a knowledge base can help streamline communication and improve customer satisfaction.
In this guide, we will walk you through the process of setting up a knowledge base using WordPress.
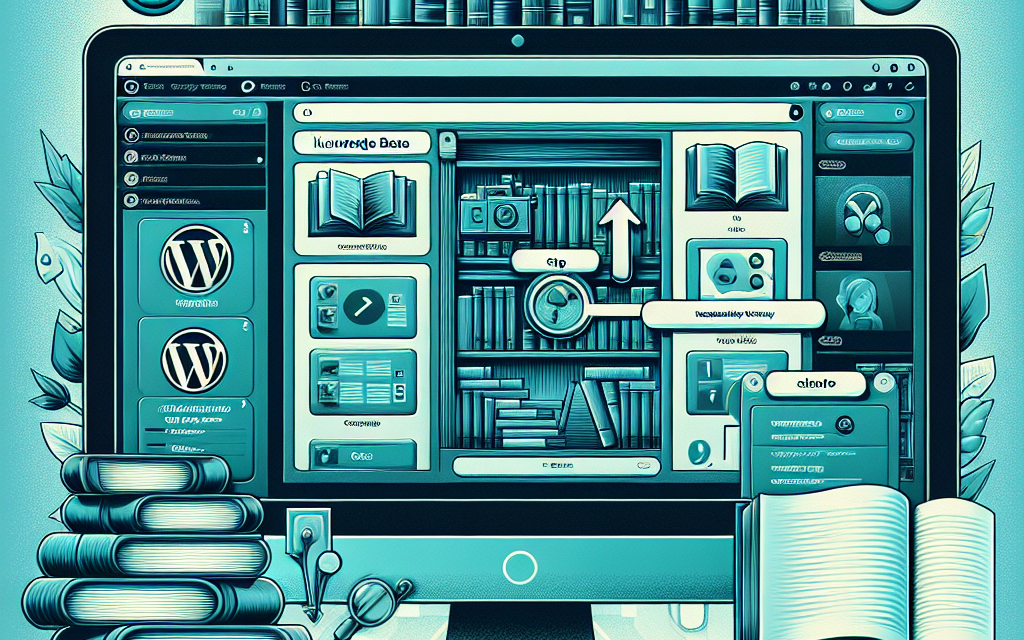
Step 1: Choose a Suitable WordPress Theme
The first step in creating a knowledge base is selecting a theme designed specifically for this purpose. There are many WordPress themes available that are optimized for knowledge base functionality. Popular options include:
- Knowledge Base: A premium theme optimized for creating a knowledge base.
- DocsPress: Designed specifically for documentation and knowledge sharing.
To explore more themes, check the WordPress Theme Directory.
Step 2: Install a Knowledge Base Plugin
While you can create a knowledge base using standard pages and posts, using a dedicated plugin can save time and effort. Consider these plugins:
- WP Knowledgebase: This plugin allows you to create a simple, user-friendly knowledge base.
- Echo Knowledge Base: Offers a more feature-rich approach with advanced functionalities.
You can install plugins directly from your WordPress dashboard. Go to Plugins > Add New, and search for the desired plugin.
Step 3: Configure Your Knowledge Base Settings
Once you have installed your chosen plugin, it’s time to configure the settings.
- Access the Plugin Settings: Depending on the plugin, find the settings panel under the "Settings" or "Knowledge Base" section in your WordPress dashboard.
- Set Up Categories: Organize your articles by creating categories relevant to your audience.
- Customize Appearance: Adjust the design settings to match your website’s overall look and feel.
Step 4: Create Knowledge Base Articles
After setting up the structure, you can start adding content:
- Add New Articles: Go to the plugin’s section (e.g., Knowledge Base > Add New) and begin writing your article.
- Use Clear Titles and Subheadings: Ensure that the titles are descriptive. Use headings to break down the content into manageable sections.
- Include Visuals: Where applicable, include images, screenshots, or videos to enhance understanding.
Step 5: Enhance User Navigation
User experience is crucial for a knowledge base. Here are ways to improve navigation:
- Search Functionality: Ensure that your knowledge base has a search bar to help users find articles quickly.
- Related Articles: Link related articles to keep users engaged and informed.
- Breadcrumbs: Enable breadcrumb navigation for easier backtracking.
Step 6: Promote Your Knowledge Base
Once your knowledge base is live, promote it through various channels:
- Social Media: Share links to popular articles or new content on your social media platforms.
- Email Newsletter: Include links to your knowledge base in your email communications.
- In-Website Links: Use call-to-action buttons in your main pages directing users to the knowledge base.
Step 7: Regularly Update Content
Keep your knowledge base relevant by regularly updating articles and adding new content based on user feedback and inquiries.
Consider using analytics tools to track user interaction and determine which articles require updates or more detailed information.
Conclusion
Setting up a knowledge base in WordPress is an invaluable asset for your website. Not only does it improve usability, but it also helps customers find the answers they need without the hassle of contacting support.
If you’re looking for a powerful, flexible hosting solution for your WordPress site, consider WafaTech NextGen WordPress Hosting. With robust performance and a plethora of features tailored for WordPress, you can create and manage your knowledge base seamlessly.
For more details, visit WafaTech WordPress Hosting.
Resources
By following these steps, you can create an informative and user-friendly knowledge base that adds value to your website and enhances user satisfaction!


