Creating an online magazine can be an exciting venture, allowing you to share your stories, ideas, and insights with readers around the globe. With WordPress, you can build a professional-looking magazine without needing extensive technical skills. In this guide, we’ll walk you through the process step-by-step.
Step 1: Define Your Niche
Before you dive into building your magazine, it’s crucial to define your niche. Consider what topics you’re passionate about and what audience you want to target. Whether it’s technology, fashion, travel, or lifestyle, having a clear focus will help you create compelling content.
Step 2: Choose a Domain Name and Hosting
Once you know your niche, the next step is to choose a domain name that reflects your magazine’s theme. After securing a domain, you’ll need a reliable hosting service. WafaTech offers NextGen WordPress hosting solutions that provide speed and security for your site. You can learn more about it here.
Step 3: Install WordPress
Most hosting providers, including WafaTech, offer a simple one-click installation process for WordPress. Once WordPress is installed, you can log into your dashboard and start customizing.
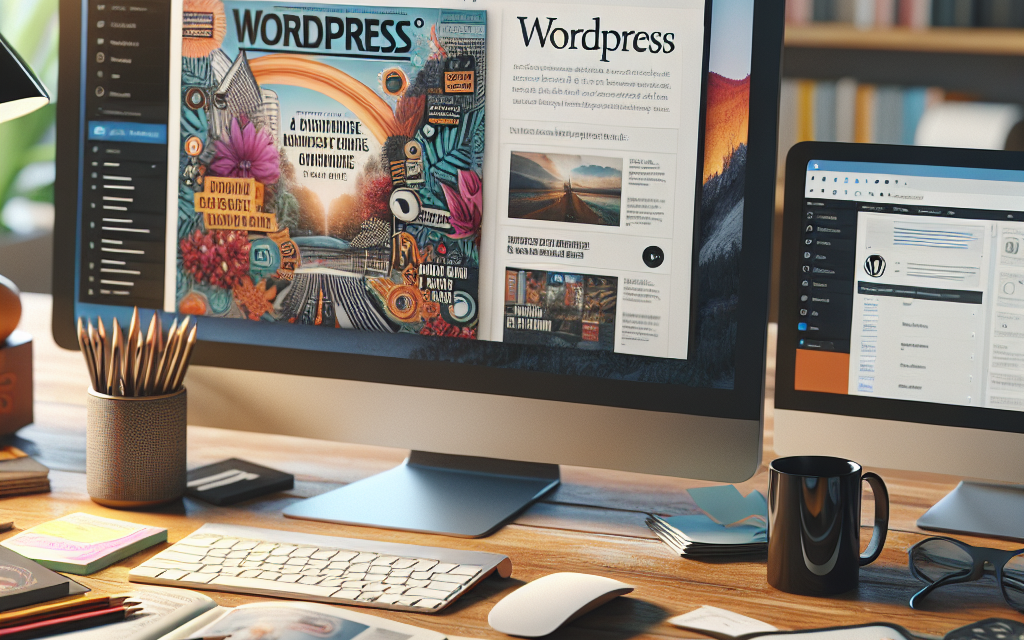
Step 4: Select a Theme
WordPress has a vast library of themes that can give your magazine a unique look. For a magazine-style layout, consider themes like Newspaper, MagPlus, or Jannah. You can find thousands of themes in the WordPress Theme Directory.
- Go to Appearance > Themes.
- Click on Add New and search for magazine themes.
- Install and activate your chosen theme.
Step 5: Install Essential Plugins
Plugins can enhance the functionality of your magazine. Here are some essential ones to consider:
- Yoast SEO: Improves your site’s SEO.
- WPForms: Helps create contact forms.
- Jetpack: Provides security and performance enhancements.
- Social Pug: Adds social sharing buttons to your articles.
You can install plugins by going to Plugins > Add New, searching for the desired plugins, and clicking Install Now.
Step 6: Create Categories and Add Content
Organizing your content into categories will make it easier for readers to navigate. Create categories representative of your magazine’s topics.
- Go to Posts > Categories to add new categories.
- Start creating content by clicking Posts > Add New. Write engaging articles, incorporate images, and use headings to break up your text.
Step 7: Design Your Homepage
Your homepage is the first impression for most visitors. Customize it to highlight featured articles, categories, and other essential information. Use page builders like Elementor or Beaver Builder to create a visually appealing layout.
- Navigate to Pages > Add New for custom page designs.
- Set your static homepage by going to Settings > Reading.
Step 8: Optimize for SEO and Speed
It’s essential for your magazine to be found by search engines. Use the Yoast SEO plugin to optimize your content. Additionally, install caching plugins like W3 Total Cache or WP Super Cache to enhance site speed.
Step 9: Promote Your Magazine
Once your magazine is up and running, it’s time to promote it. Share your articles on social media platforms, engage with other bloggers, and consider using email newsletters to keep your audience updated.
Conclusion
Creating an online magazine with WordPress is a straightforward process that allows you to showcase your interests and connect with readers. By following this guide, you’ll be on your way to launching a successful online magazine.
Ready to take your magazine to the next level? Consider using WafaTech NextGen WordPress hosting for more optimized performance. For more details, visit WafaTech WordPress Hosting and kickstart your magazine journey today!
For further information on WordPress plugins and themes, explore the official WordPress documentation. Happy publishing!


