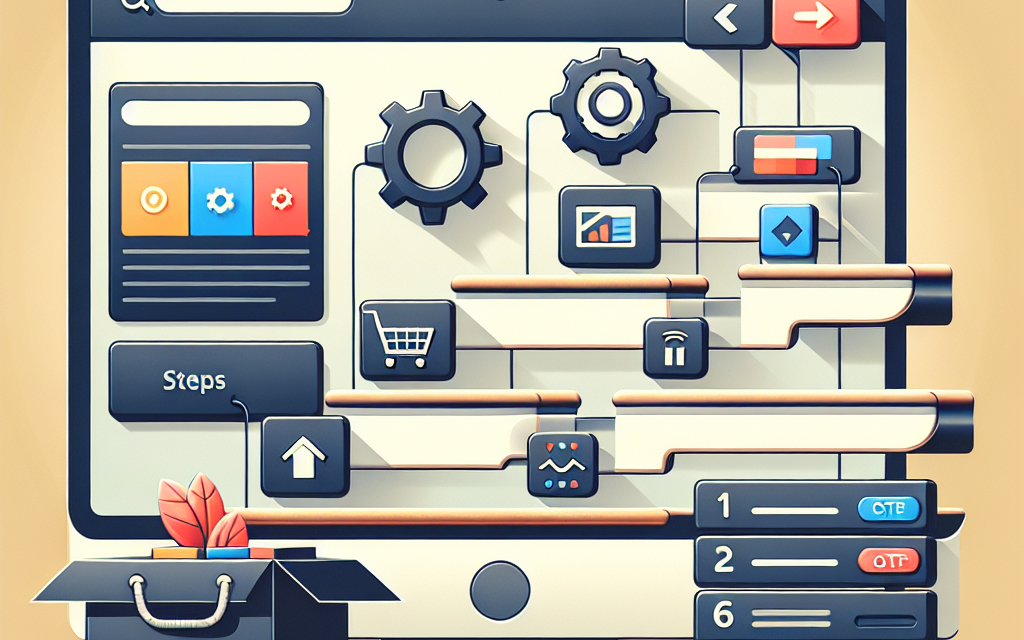
Creating a product configurator in WooCommerce can significantly enhance user experience and increase conversion rates. Whether you’re selling custom furniture, made-to-order clothing, or personalized electronics, a configurator allows customers to tailor products according to their preferences. This guide will walk you through the process of setting up a product configurator in WooCommerce.
Step 1: Setting Up WooCommerce
-
Install WooCommerce: If you haven’t already, install the WooCommerce plugin. You can do this directly from your WordPress dashboard by navigating to
Plugins>Add New, then search for “WooCommerce.” -
Configure Basic Settings: After installation, run the WooCommerce setup wizard to configure essential settings like payment methods, shipping options, and currency settings.
For detailed documentation, refer to the WooCommerce Installation Guide.
Step 2: Choose a Product Configurator Plugin
To create a product configurator, you’ll need a plugin that supports customizable products. A few popular options include:
-
Product Add-Ons: This plugin allows you to add extra options to your products, such as text fields, checkboxes, and dropdowns.
-
WooCommerce Custom Product Designer: Great for letting customers design their products with images, text, and more.
-
Advanced Custom Fields: A versatile tool that lets you create custom fields for your products.
Choose one based on your specific needs and install it through the Plugins section of WordPress.
Step 3: Configure Your Products
-
Create a New Product: Go to
Products>Add Newin your WordPress dashboard. -
Set Up Product Data: Depending on the configurator plugin you chose, you can add different attributes:
- Product Name: Give your product a clear name.
- Product Type: This will depend on your selected plugin.
- Attributes: Define customization options (like colors, sizes, and features).
-
Add Product Add-Ons: If you’re using the Product Add-Ons plugin, add fields that allow customers to customize their purchases.
-
Preview: Make sure to preview the product before making it live to ensure everything appears as intended.
For more information on adding products, check out the WooCommerce Product Documentation.
Step 4: Customize the User Interface
A visual and user-friendly configurator can boost customer engagement:
-
Use Visual Elements: Use images, colors, and live previews to make the customization process more attractive.
-
Intuitive Layout: Ensure the options are easy to navigate and understand. Group similar customization options together.
-
Test on Multiple Devices: Optimize for mobile responsiveness since many users shop on their phones.
Step 5: Setting Up Pricing Rules
Set clear rules for how pricing changes with product customization. For instance, if adding a specific feature incurs an additional fee, ensure this is reflected immediately.
- Dynamic Pricing: Use plugins like WooCommerce Dynamic Pricing to automatically update prices based on selected options.
Step 6: Test Your Configurator
Before launching, test your configurator thoroughly.
-
User Testing: Have a few users navigate through the configurator to identify any confusing elements or bugs.
-
Check Compatibility: Ensure the configurator works seamlessly with your theme and other plugins.
Step 7: Launch and Promote
Once everything is set up and tested, publish your product configurator. Promote it through your website, social media platforms, and email newsletters to attract customers.
Conclusion
Creating a product configurator in WooCommerce can transform your online store by providing a personalized shopping experience. By following this step-by-step guide, you can set up an effective configurator that meets your customers’ needs.
Ready to take your WooCommerce store to the next level? Explore WafaTech NextGen WordPress Hosting for faster, reliable, and secure hosting solutions tailored for your eCommerce needs.
For more details, visit WafaTech WordPress Hosting and start building an incredible online store today!
References
Feel free to explore and integrate the mentioned tools and solutions to further enhance your website’s performance and user experience!


