In today’s fast-paced digital world, live blogging has become an essential way to engage with your audience during events. Whether you’re covering a conference, a product launch, or a community gathering, creating a live blog can keep your audience informed and engaged in real-time. In this guide, we’ll walk you through the process of setting up a live blog using WordPress.
Why Use a Live Blog?
Live blogging allows you to share updates, quotes, and insights as they happen, making your content timely and relevant. It helps in:
- Keeping your audience engaged
- Encouraging interaction
- Reaching a larger audience
- Providing instant feedback and insights
Step 1: Choose the Right Hosting Plan
Before diving into the nitty-gritty of live blogging, you need a reliable hosting service that supports WordPress. For a smooth experience, consider using WafaTech’s NextGen WordPress Hosting, which offers optimized performance and robust security features. You can find more details here.
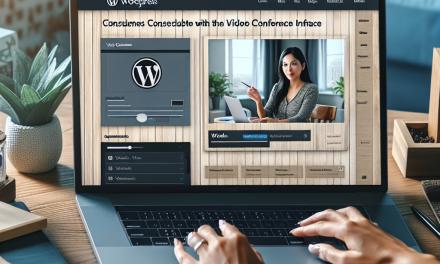
Step 2: Set Up Your WordPress Blog
-
Install WordPress: If you haven’t already, install WordPress through your hosting provider. Many providers, including WafaTech, offer one-click installations.
-
Select a Theme: Choose a theme that’s responsive and suitable for live blogging. Some popular options include:
- Divi: Highly customizable.
- Newspaper: Great for blogs and magazines.
-
Install Essential Plugins:
- Live Blogging Plugin: Use plugins like WP Live Blog for real-time updates.
- Social Media Plugins: Integrate social sharing to maximize reach with tools like Social Warfare.
- SEO Plugins: Optimizing your content for search engines is crucial. Install Yoast SEO for insights.
Step 3: Prepare Before the Event
-
Create Your Blog Post: Before the event, create a draft post that will serve as your live blog. Use a catchy title and include an introduction that gives readers an overview of the event and its significance.
-
Plan Your Updates: Outline topics or segments that you want to cover during the event. This could include keynote speeches, breakout sessions, and interviews.
-
Promote Your Blog: Let your audience know where to find your live blog by promoting it on social media, email newsletters, and event pages.
Step 4: Go Live!
-
Use the Live Blogging Plugin: As the event unfolds, make real-time updates using the live blogging plugin. Add text, images, and videos to keep your audience engaged.
-
Engage with Your Audience: Encourage comments and share updates on social media. Be responsive and interact with your readers to enhance engagement.
-
Monitor Analytics: Use tools like Google Analytics to monitor real-time traffic and understand reader engagement. This will help you gauge what resonated most with your audience.
Step 5: Post-Event Follow-Up
-
Finalize Your Live Blog: After the event, conclude your live blog with a summary of key points and highlights.
-
Repurpose Content: Use the content from your live blog to create additional blog posts, social media updates, and newsletters.
-
Gather Feedback: Encourage readers to provide feedback on the live blog. This can help you improve future live blogging efforts.
Conclusion
Creating a live blog for your next event is a fantastic way to engage your audience and provide timely updates. With the help of WordPress and a reliable hosting service like WafaTech, you can easily set up an engaging live blogging experience.
Ready to take your blogging to the next level? Discover more about WafaTech’s NextGen WordPress Hosting and start creating your live blog today!
For a comprehensive list of tools, plugins, and more information about WordPress, visit the official WordPress Documentation to enhance your blogging experience.
Happy blogging!

