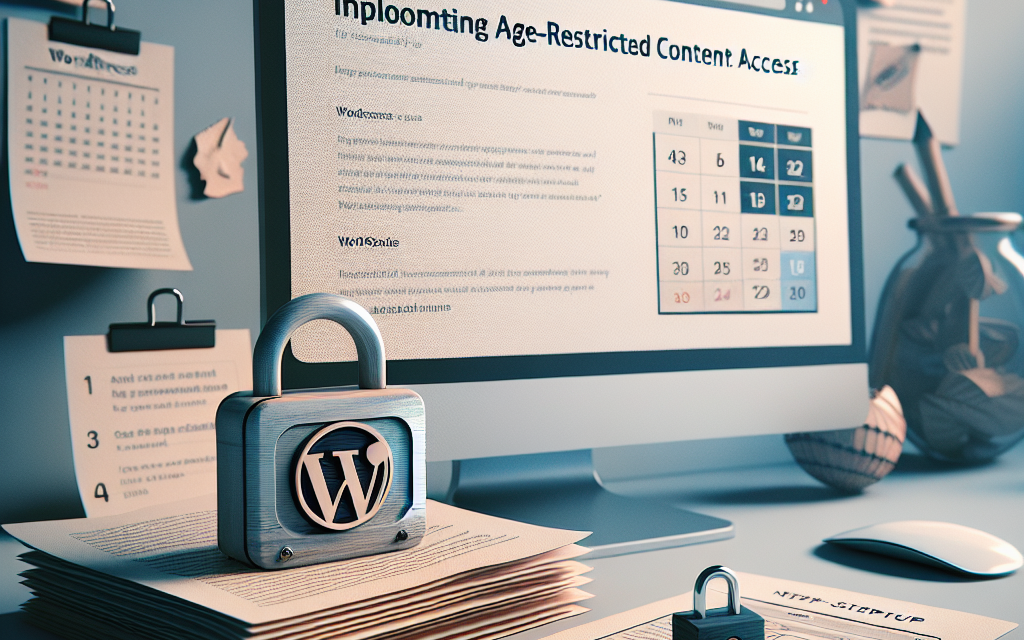
In today’s digital environment, safeguarding user experience while adhering to legal standards is paramount, especially when it comes to age-restricted content. Whether you run a blog featuring adult themes, video games, or other content meant for mature audiences, implementing age-restricted access is crucial. In this guide, we’ll walk you through enabling age verification in your WordPress blog, ensuring your content reaches the right audience responsibly.
Step 1: Choose the Right Plugin
The first step in implementing age-restricted content is selecting an appropriate plugin. There are several options available, such as:
- Age Gate: A lightweight plugin that offers straightforward age verification.
- WP Age Verification: This plugin helps you to create a custom age verification layer on your site.
You can find these plugins in the WordPress Plugin Directory.
Step 2: Install the Plugin
- Log in to your WordPress Dashboard.
- Navigate to Plugins > Add New.
- Search for your chosen plugin (e.g., “Age Gate”).
- Click Install Now, then activate the plugin after installation.
Step 3: Configure the Plugin Settings
After activating your chosen plugin, you’ll need to configure its settings to tailor the age verification according to your needs:
- Go to Settings in your dashboard and select your newly installed plugin.
- Define the minimum age required to access your content (commonly set to 18 or 21).
- Customize the message users will see if they’re not old enough, along with the layout or design of the age verification prompt.
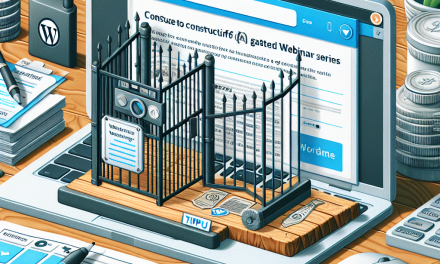
Step 4: Apply Age Verification to Specific Content
With the plugin set up, it’s time to specify which pieces of content require age verification:
- Create or edit a post or page.
- In the editor, look for the option to enable age verification for that specific content (this may vary by plugin).
- Save your changes.
Step 5: Test the Implementation
Before going live, it’s essential to test the age restriction:
- Open your website in an incognito mode or a browser where you’re not logged in.
- Attempt to access content that requires age verification to ensure the prompt appears as intended.
Step 6: Monitor and Adjust as Needed
After implementation, keep an eye on your analytics to see how users engage with your age-restricted content. You may want to adjust:
- The age verification visibility based on user feedback
- The content that requires restriction
Conclusion
By following these steps, you can effectively implement age-restricted content access in your WordPress blog, fostering a secure and lawful environment for your users. Age verification isn’t just about compliance; it’s about creating a responsible platform that respects its audience.
Call to Action
To enhance your blogging experience even further, explore WafaTech NextGen WordPress Hosting. With our optimized performance, security features, and dedicated support, we provide the tools you need to grow your blog effectively.
For more details, visit WafaTech WordPress Hosting.
References:

