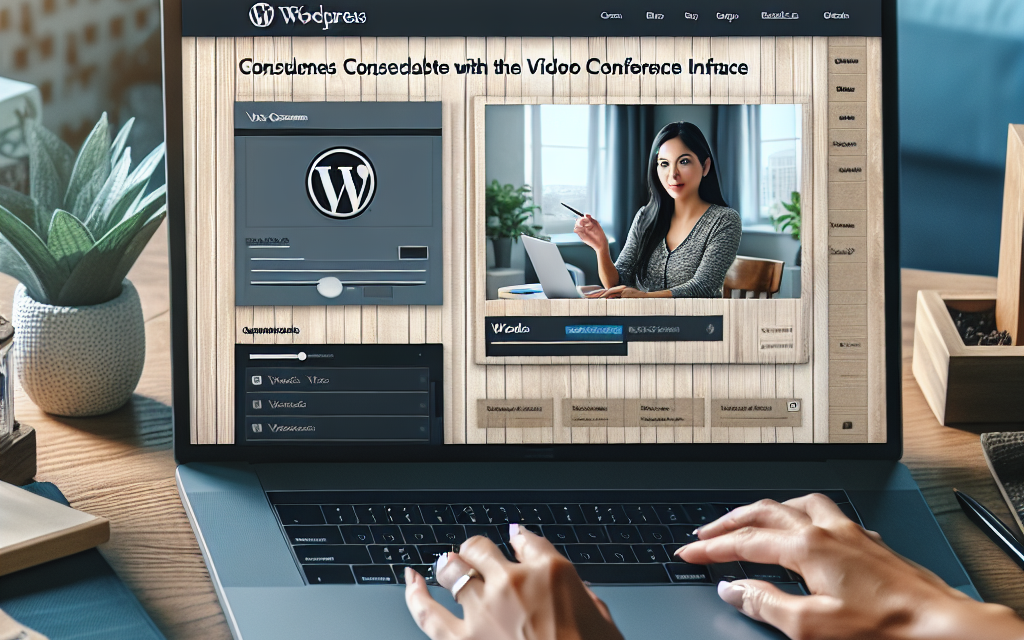
In today’s world, video conferencing has become an essential part of communication, whether for business meetings, online classes, or virtual catch-ups with friends. Building a custom video conference platform is now easier than ever, especially with the flexibility and power of WordPress. In this article, we’ll guide you step-by-step to create your own video conferencing platform tailored to your needs.
Why Use WordPress for Video Conferencing?
WordPress is a widely-used content management system (CMS) that powers over 40% of websites on the internet. Its versatility means you can create almost any type of site, including a video conferencing platform. By taking advantage of various plugins, themes, and customization options, you can create a unique conferencing experience.
Step 1: Set Up Your WordPress Environment
-
Choose a Hosting Provider: To get started, choose a reliable hosting provider that can handle the bandwidth and uptime necessary for video conferencing. For an optimized experience, consider WafaTech NextGen WordPress Hosting.
-
Install WordPress: Most hosting services offer one-click installations. Follow the prompts to install WordPress on your domain.
-
Select a Domain Name: Choose a domain name that reflects your brand and purpose.
Step 2: Choose a Suitable Theme
Selecting a responsive theme is crucial. Your theme should not only look professional but also be mobile-friendly. Popular themes that cater to video and multimedia content include:
- Astra: Lightweight and customizable.
- OceanWP: Great for building diverse websites.
- Neve: Perfect for speed and simplicity.
Step 3: Install Video Conference Plugins
The next step involves selecting the right plugins to facilitate video conferencing. Here are some recommendations:
-
Zoom Video Conferencing: With the Zoom Plugin for WordPress, you can easily integrate Zoom meetings into your site.
-
LiveWebinar: This versatile platform allows you to manage webinars and online meetings directly from your WordPress dashboard. Check out LiveWebinar for installation and configuration guidelines.
-
BigBlueButton: An open-source web conferencing system geared towards online learning. Find more about BigBlueButton and how to integrate it with WordPress.
Step 4: Customize the User Experience
-
Create User-Friendly Navigation: Ensure users can easily find the meeting room links, schedules, and relevant resources.
-
Incorporate a Dashboard: Using existing plugins or WordPress page builders like Elementor or Beaver Builder, create a dashboard where users can view upcoming conferences, join meetings, and access recorded sessions.
-
Implement Security Features: With video conferencing comes the need for security. Make sure to utilize plugins that provide authentication, user roles, and videoconference permissions.
Step 5: Test Your Platform
Before going live, conduct extensive testing. Ensure that:
- The video quality is acceptable.
- Audio works perfectly.
- There are no lags in connectivity.
- All features (screen sharing, recording, chat, etc.) work seamlessly.
Step 6: Launch and Promote Your Video Conference Platform
Once everything is set, launch your platform! Promote it through social media, email newsletters, and SEO strategies to attract users.
Conclusion
Creating a custom video conference platform using WordPress is entirely feasible and can be tailored to suit various needs, from educational purposes to corporate meetings.
By utilizing the right tools and following best practices, you can create an efficient solution that enhances communication.
Call to Action
Ready to take your website to the next level? Explore WafaTech NextGen WordPress Hosting for exceptional performance and robust support tailored for creating custom platforms. Start your journey with WafaTech today and unlock endless possibilities!
For more resources, visit the WordPress official documentation to expand your knowledge and improve your platform. Happy conferencing!

