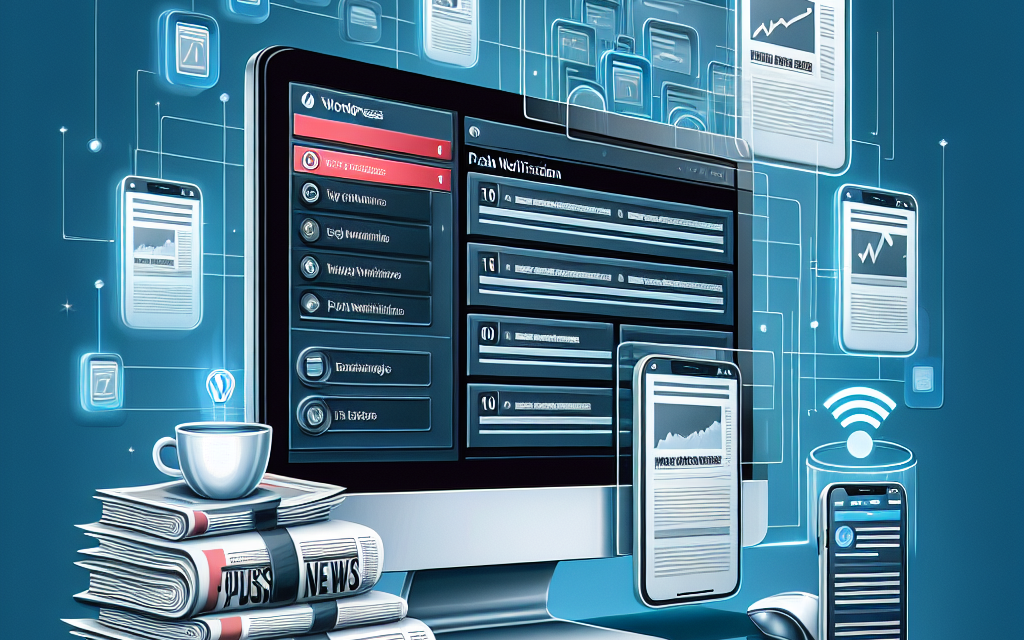
In today’s fast-paced digital age, timely updates are crucial for engaging your audience. One of the most effective ways to ensure your visitors stay informed is through push notifications. Offering breaking news updates directly to your users’ devices can significantly enhance user engagement and retention. In this guide, we will walk you through the essential steps to set up push notifications for your WordPress site.
Step 1: Choose a Reliable Push Notification Service
Before diving into the process, choose a reliable push notification service. Some popular options include:
- OneSignal: A widely used platform that allows you to send free push notifications to your website visitors without any hassle or technical expertise.
- PushEngage: Another great option that offers advanced segmentation, scheduling, and analytics features.
References:
Step 2: Install a Push Notification Plugin
After selecting your service, the next step is to install a suitable WordPress plugin that integrates with your chosen service.
- Navigate to your WordPress dashboard.
- Go to Plugins > Add New.
- Search for your chosen service (e.g., “OneSignal” or “PushEngage”) in the search bar.
- Click Install Now and then Activate the plugin.
Useful Tools:
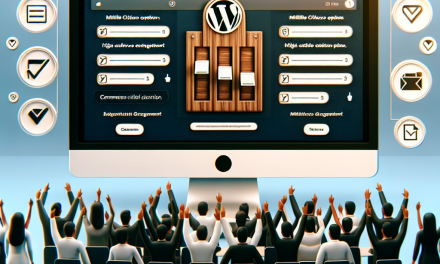
Step 3: Configure Your Plugin Settings
Once the plugin is activated, configure its settings to ensure that it operates according to your preferences:
- Head to the plugin settings from your dashboard (usually located under the left sidebar).
- Input your API keys and credentials from your push notification service.
- Customize the notification settings: decide how often the notifications should be sent and set up automation features if available.
Documentation:
For comprehensive guidance, refer to the official documentation of your chosen plugin:
Step 4: Segment Your Audience
Utilizing audience segmentation can help tailor your notifications more effectively. Most push notification services allow you to segment your audience based on their preferences and behavior. This ensures that users receive relevant news updates, maximizing engagement.
Step 5: Create Eye-Catching Notifications
Crafting compelling and eye-catching notifications is essential to ensure user interaction. Consider the following tips:
- Keep it concise: Users appreciate brief, clear messages.
- Use action-oriented language: Encourage users to click through to read more.
- Include images if possible to increase visual appeal.
Step 6: Test the Notifications
Before going live, test your push notification setup:
- Send test notifications to ensure everything works smoothly.
- Optimize notification settings based on feedback to enhance user experience.
Step 7: Monitor and Analyze Performance
Once everything is in place, monitor the performance of your push notifications. Analyze engagement metrics such as click-through rates and user retention. Most push notification services provide analytics tools for this purpose. Use the insights you gain to refine your strategy and improve future notifications.
Conclusion
Setting up push notifications for breaking news on your WordPress site can enhance user engagement and keep your audience informed in real-time. By following these essential steps, you’ll be well on your way to connecting with your visitors more effectively.
For those looking to elevate their WordPress hosting experience, consider WafaTech’s NextGen WordPress solutions. With optimized performance and dedicated support, we can help you take your site to new heights. For more details, visit our WordPress Hosting page.
Happy notifying!


