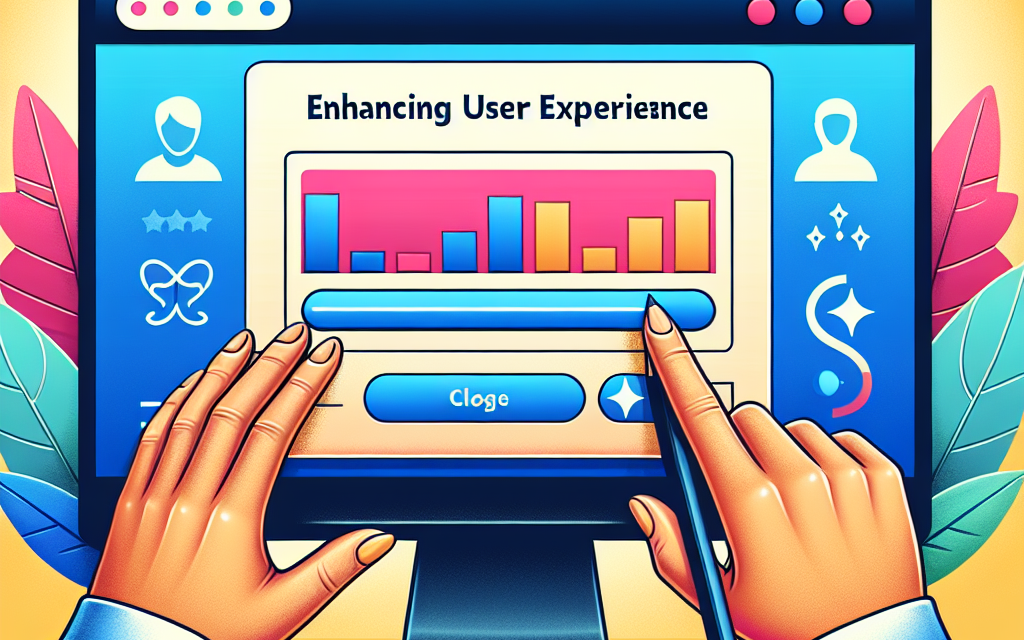
In the fast-paced digital world, user experience (UX) plays a crucial role in retaining visitors and converting them into loyal customers. One innovative way to enhance UX on your WordPress site is by incorporating a custom progress bar. This not only helps your users gauge their navigation but also adds a touch of creativity to your website’s design. In this article, we’ll explore the benefits of adding a custom progress bar and how it can significantly improve your site’s user experience.
Why Use a Custom Progress Bar?
1. Improved Navigation
A progress bar can show users where they are in the content or the checkout process, reducing confusion and frustration. For example, if your site contains lengthy articles or a multi-step form, indicating progress can motivate users to continue through to completion.
2. Engagement Increase
When users see their progress visually represented, they are more likely to stay engaged. It serves as a reminder that they’ve accomplished something and can reach the finish line, which can lead to increased time on page and lower bounce rates.
3. Visual Appeal
A well-designed progress bar can enhance the aesthetics of your site. Custom animations and color schemes can keep your site looking fresh and engaging, reflecting your brand identity.
4. Reduced Drop-off Rates
On e-commerce platforms, a progress bar during checkout can significantly reduce cart abandonment. Customers appreciate knowing how many steps are left before completion, which can help reduce anxiety and encourage them to complete their purchase.
How to Add a Custom Progress Bar to Your WordPress Site
Step 1: Choose the Right Plugin
To create a custom progress bar, consider using dedicated plugins such as:
- WP Progress Bar: This easy-to-use plugin allows you to create and customize an attractive progress bar without needing to touch any code.
- Progress Bar by WPBakery: Ideal for users already with WPBakery Page Builder; this option allows for great flexibility and customization.
Explore more plugins at the WordPress Plugin Directory.
Step 2: Install and Activate the Plugin
- Navigate to the “Plugins” section in your WordPress admin dashboard.
- Click “Add New” and search for your chosen progress bar plugin.
- Install and activate it.
Step 3: Configure the Progress Bar
After activation, go to the plugin settings and customize the progress bar according to your preferences. Adjust parameters such as colors, animations, and placement to align with your website’s design.
Step 4: Implement the Progress Bar
Depending on your plugin, you might need to add a shortcode or a block to your content in the WordPress editor. This typically involves simply inserting a unique shortcode at the desired location.
Resource: For detailed documentation, refer to the official WordPress documentation.
Best Practices for Using a Progress Bar
- Keep It Simple: Avoid overly complicated designs that could distract from the content.
- Test for Responsiveness: Ensure that the progress bar functions well on both desktop and mobile devices.
- Use Clear Language: Make sure the progress is easily understandable; use terms that resonate with your audience.
Conclusion
In conclusion, a custom progress bar not only enhances the user experience but also reflects your commitment to providing a seamless interaction on your WordPress site. Whether you are running a blog, e-commerce site, or a portfolio, integrating a progress bar is a smart and effective way to keep visitors engaged.
Call to Action
Ready to take your WordPress site to the next level? Explore WafaTech’s NextGen WordPress Hosting offerings for a performance boost tailored for your needs. Learn more about our hosting solutions at WafaTech WordPress Hosting and start transforming your site today!
For further articles and insights, stay tuned to WafaTech Blogs!


