
In today’s fast-paced digital landscape, captivating content is essential for engaging audiences and conveying complex narratives clearly. One of the most effective ways to tell a story is through interactive timelines. This article explores how to craft engaging interactive timelines that enhance storytelling and keep your audience hooked.
Why Use Interactive Timelines?
Interactive timelines transform static information into dynamic experiences. They allow users to explore historical events, project milestones, or personal journeys in a visually appealing and engaging way. Here are a few benefits:
- Enhanced Engagement: Interactive elements keep users interested and encourage exploration.
- Visual Appeal: Well-designed timelines provide visual context, making information easier to digest.
- Clear Storytelling: They help structure content chronologically, guiding audiences through complex narratives.
Tools and Plugins for Creating Interactive Timelines
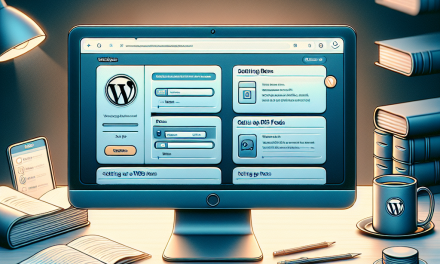
When it comes to crafting interactive timelines on your WordPress site, several tools can help you get started. Here are some popular plugins that you can consider:
1. Cool Timeline
Cool Timeline is an intuitive plugin that allows you to create vertical and horizontal timelines easily. With its user-friendly interface, you can add events, images, and videos to enhance your storytelling.
2. Timeline Express
Timeline Express is another excellent tool for creating beautiful timelines. This plugin focuses on event-driven content, making it a perfect choice for project updates or historical events.
3. WP Timeline
WP Timeline lets you showcase your stories in a visually appealing format. You can customize the look and feel to match your brand, ensuring your timeline remains cohesive with your overall site design.
Steps to Create an Engaging Interactive Timeline
Step 1: Define Your Purpose
Before you start building, clarify the purpose of your timeline. Are you showcasing a company’s history, a project life cycle, or maybe personal milestones? Knowing your goal will help you structure your content effectively.
Step 2: Gather Your Data
Research and gather the necessary information. Collect key dates, events, descriptions, images, and any multimedia elements that will enrich the narrative.
Step 3: Choose the Right Plugin
Select one of the plugins mentioned above based on your requirements. Each has unique features, so choose the one that best suits your storytelling needs.
Step 4: Design Your Timeline
Utilize the plugin’s builder interface to craft your timeline. Pay attention to layout and aesthetics to ensure a seamless user experience. Use visuals, colors, and typography consistent with your brand guidelines.
Step 5: Test and Publish
Before going live, test your timeline. Check for functionality across different devices and browsers. Make necessary adjustments, and once satisfied, publish it on your WordPress website.
Step 6: Promote Your Timeline
Share your interactive timeline across your social media channels, newsletters, and other platforms to maximize reach. Invite feedback and engage with your audience to keep the conversation going.
Conclusion
Crafting an engaging interactive timeline is a powerful way to tell your story effectively. By leveraging the right tools and following a structured approach, you can create an immersive experience that captivates your audience.
Call to Action
Ready to take your storytelling to the next level? Explore WafaTech NextGen WordPress Hosting for fast and reliable performance. With top-notch support and powerful features, you can create stunning websites with ease. Learn more about our services here and start building your interactive timelines today!
For more resources and tools, visit the WordPress official website to enhance your website. Happy crafting!


