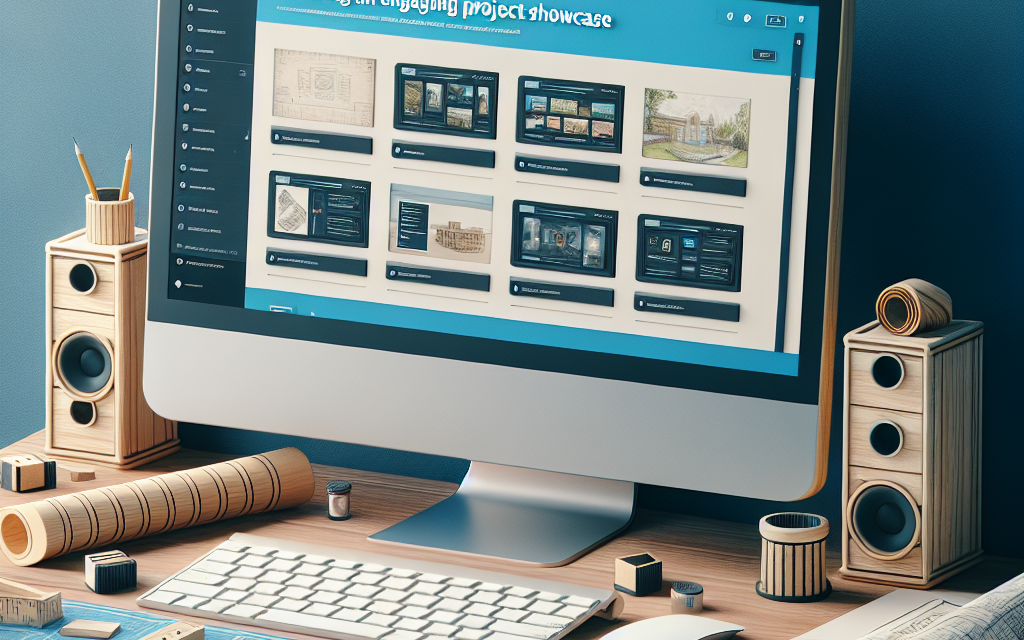
In an era where visual storytelling is paramount, creating an engaging project showcase can make all the difference in impressing potential clients or users. One effective way to add an interactive element to your WordPress site is through the use of sliders. In this article, we’ll explore how to utilize interactive sliders to elevate your project showcase, making it more engaging and visually appealing.
Why Use Interactive Sliders?
Interactive sliders are not only eye-catching, but they also offer a compact way to present multiple projects or ideas without overwhelming your visitors. They encourage users to interact with your content, leading to longer site visits and a better overall user experience.
Choosing the Right Slider Plugin
The first step in implementing interactive sliders is selecting the right plugin. Here are some popular options you can consider:
-
Slider Revolution: Known for its advanced features and customization options, this plugin is perfect for creating stunning sliders filled with animations.
-
Soliloquy: A user-friendly plugin that allows you to create responsive sliders and integrates seamlessly with WordPress.
-
MetaSlider: This versatile plugin supports various slider types and ensures high performance.
For a deeper dive into these plugins and others, check out WordPress Plugin Repository.
Creating Your Slider
Step 1: Install Your Chosen Plugin
Once you’ve selected the slider plugin, install and activate it from your WordPress Admin Dashboard. Simply head to Plugins > Add New, search for your desired plugin, and click Install.
Step 2: Add Your Projects
Navigate to the newly created slider menu in your admin dashboard. Here, you can start adding slides. Each slide can include images, videos, or even text, showcasing different facets of your projects.
Tips for Content:
- Use high-quality images to grab attention.
- Write brief, engaging descriptions that highlight the key features of each project.
- Include call-to-action buttons, like “Learn More” or “View Project,” to encourage further exploration.
Step 3: Customize Your Slider
Take advantage of customization options in your plugin:
- Transitions and Animations: Add smooth transitions to engage viewers.
- Layout Options: Decide how the slider will be displayed on your page (full-width, boxed, etc.).
Step 4: Embed the Slider
Once your slider is complete, it’s time to display it on your site. Most plugins will provide a shortcode that you can insert into any post or page.
Integrating Interactive Elements
Make your sliders even more interactive by adding features like:
- Navigation Arrows: Allow users to easily navigate through your projects.
- Thumbnail Navigation: Giving users the option to click through thumbnails can enhance user engagement.
- Pause on Hover: This feature ensures that users can stop at a slide to read details before continuing.
Best Practices for a Stunning Showcase
- Keep it Simple: Too many slides can overwhelm the viewer. Select a few standout projects to showcase.
- Responsive Design: Ensure your slider looks good on both desktops and mobile devices.
- Loading Speed: Optimize images to maintain fast loading times while delivering high-quality visuals.
Conclusion
Crafting an engaging project showcase using interactive sliders in WordPress can significantly enhance the user experience on your website. By following these steps, you will create a stunning visual presentation that captivates your audience.
If you’re looking for a robust and feature-rich hosting solution to bring your WordPress projects to life, consider WafaTech NextGen WordPress Hosting. Our hosting solutions offer unparalleled performance, security, and support tailored specifically for WordPress users.
For more details on WafaTech NextGen WordPress Hosting, visit WafaTech Hosting.
Happy showcasing!
For more information on WordPress functionalities and tools, refer to WordPress Official Documentation.


