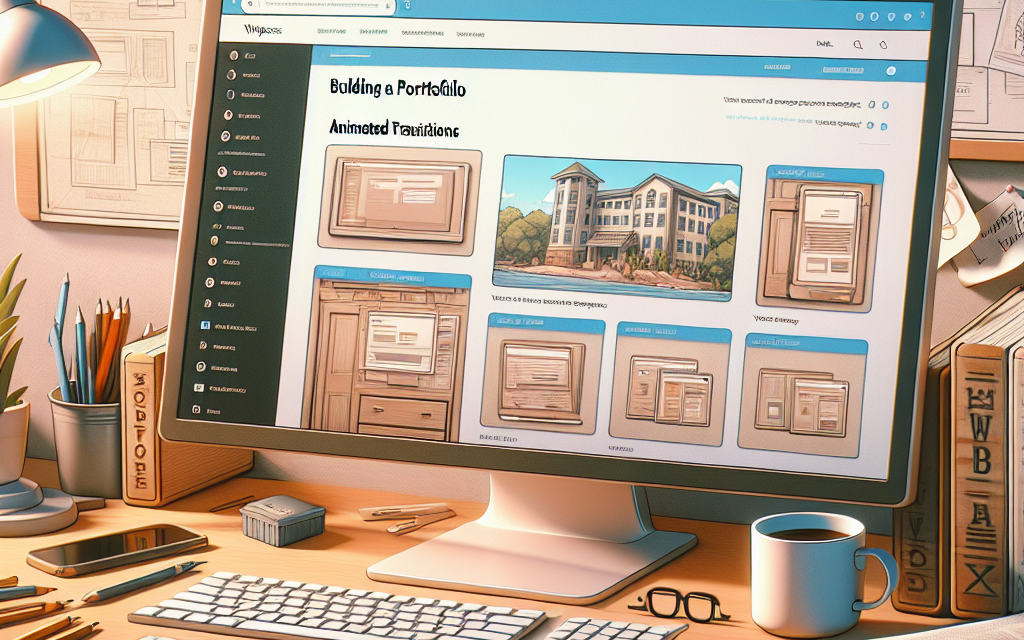
Creating an impressive online portfolio is essential for showcasing your skills, whether you’re a designer, developer, or any creative professional. With WordPress, crafting a visually appealing portfolio with captivating animated transitions has never been easier. In this article, we’ll take you through a step-by-step guide on enhancing your portfolio using animated transitions that can captivate your audience.
Step 1: Choose the Right Theme
Selecting a theme that supports animated transitions is the foundation of a stunning portfolio. Look for themes that offer flexibility with design and integration of animations. Popular options include:
- Astra: A lightweight theme that is fully customizable and compatible with various page builders.
- OceanWP: Offers multiple demo sites and built-in animations that enhance visual appeal.
You can explore more themes on the official WordPress theme directory.
Step 2: Install and Configure Essential Plugins
To create animated transitions that truly pop, consider installing plugins that facilitate animations. Here are a few recommendations:
- Elementor: This powerful page builder allows you to drag and drop elements and add animations seamlessly. You can customize your transition effects directly in the Elementor settings.
- WP Page Animations: This plugin gives you the ability to add various animation effects to your pages with ease.
- Scroll Magic: It allows you to create stunning scroll-based animations.
To install a plugin, navigate to your WordPress dashboard, go to Plugins > Add New, and search for your desired plugin.
Step 3: Create Your Portfolio Page
Once your theme is installed and your plugins are activated, it’s time to create your portfolio page.
- Create a New Page: Go to Pages > Add New, and name your page “Portfolio.”
- Use Your Page Builder: If you have installed Elementor, click “Edit with Elementor” to launch the page builder interface.
- Add Sections and Elements: Start by adding sections for your portfolio items. Utilize elements like images, text, and video.
Step 4: Add Animated Transitions
Next, incorporate animations to each element in your portfolio:
- Select an Element: Click on the element you want to animate.
- Animate Options: In Elementor, navigate to the Advanced tab, then scroll to the Motion Effects section.
- Choose Animation: Select Entrance Animation to choose how your element will appear on the page (e.g., fade in, slide from the left).
- Set Animation Duration: Adjust the duration and delay of animations to create a smooth flow.
You can find more in-depth documentation on how to use Elementor here.
Step 5: Preview and Optimize
After adding your animated transitions, it’s crucial to preview your portfolio to ensure everything looks as intended.
- Preview on Different Devices: Use the responsive mode in Elementor to check how your portfolio looks on mobile, tablet, and desktop views.
- Optimize for Performance: Make sure your animations do not hinder page speed. Compress images using plugins like Smush or Imagify.
Step 6: Publish Your Portfolio
Once satisfied with your portfolio design and animations, hit the “Publish” button. You now have a stunning portfolio that highlights your work through engaging animated transitions!
Call to Action: Elevate Your WordPress Hosting Experience with WafaTech NextGen WordPress
Transform your WordPress journey with WafaTech’s NextGen WordPress hosting solutions. Whether you’re just starting or looking to take your portfolio to the next level, we’ve got the tools and support you need. For detailed information, visit WafaTech WordPress Hosting today!
With these steps, you’re well on your way to crafting a stunning online portfolio that will leave a lasting impression. By using the power of WordPress and the right tools, your work will shine like never before!

