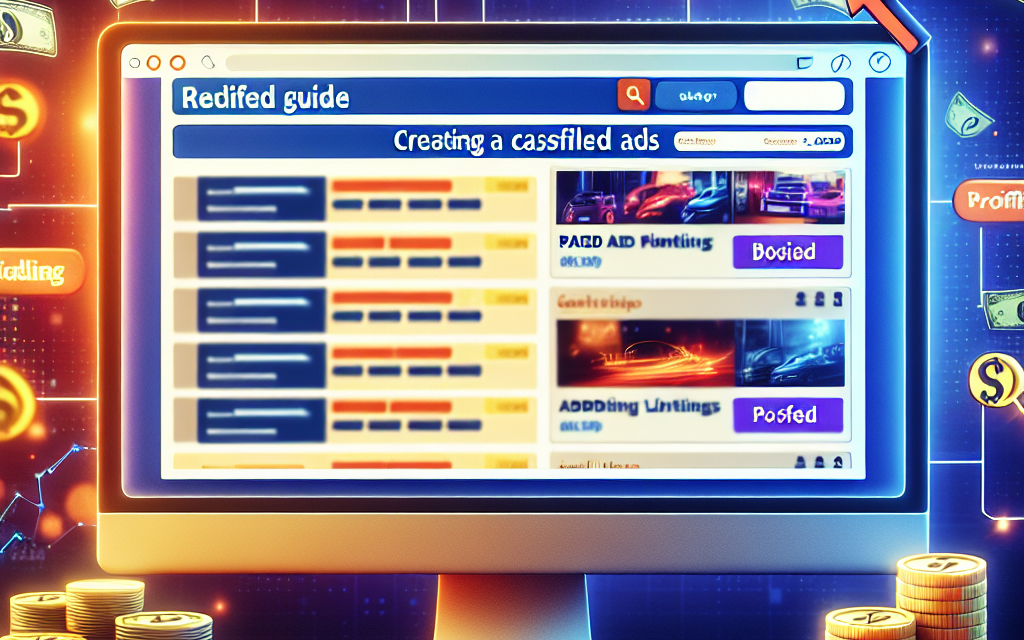
Creating a classified ads website can be a lucrative venture, especially when you incorporate paid listings. With the right approach, you can create a platform that not only serves users effectively but also generates a significant revenue stream for you. In this guide, we will walk you through the steps required to set up a successful classified ads website using WordPress.
Step 1: Choose Your Niche
Before diving into the technical aspects, it’s essential to determine the niche you want to focus on. Consider the following points:
- What type of products or services will be listed?
- Who is your target audience?
- Is there enough demand in the market?
Choosing a niche will help you tailor your website’s design and functionality to better serve your users.
Step 2: Select a Domain Name and Hosting
Once you’ve chosen your niche, it’s time to select a domain name that reflects your business. Ensure that it’s memorable, easy to spell, and relevant to your niche.
Next, choose a reliable hosting service that can handle the traffic your website will receive. For those looking for a solid option, WafaTech’s NextGen WordPress hosting is an excellent choice for its speed and reliability.
Step 3: Install WordPress
Installing WordPress is straightforward. Most hosting providers, including WafaTech, offer a one-click installation feature. Here’s how to do it:
- Log into your hosting control panel.
- Find the WordPress installer and click on it.
- Follow the on-screen instructions to complete the installation.
For further guidance, refer to the official WordPress documentation.
Step 4: Choose a Suitable Theme
Selecting the right theme is crucial for your classified ads website. Look for themes designed specifically for classified ads or marketplaces. Some popular options include:
- ClassiPress: A premium theme designed for classified ads.
- Listify: Highly customizable and great for various listings.
You can browse more options in the WordPress themes directory at WordPress.org.
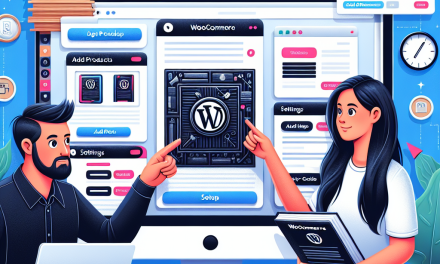
Step 5: Install Essential Plugins
Plugins extend your website’s functionality. Here are essential plugins to consider:
- WP Job Manager: Helps to manage job listings effectively.
- WooCommerce: For integrating e-commerce features to handle payments for paid listings.
- Yoast SEO: Improves your website’s visibility on search engines.
Refer to the official service pages for detailed documentation:
Step 6: Configure Paid Listings
To start generating revenue, you’ll need to configure the paid listings feature. Here’s how:
- Go to your WooCommerce settings.
- Set up product categories for different listing options (e.g., basic, featured).
- Create products representing your listing types (with different price points).
- Adjust the settings to manage listing durations and visibility.
Step 7: Promote Your Website
Marketing your classified ads website is essential to attracting users. Use these strategies:
- SEO: Optimize your website for search engines using relevant keywords and quality content.
- Social Media Marketing: Promote your ads through platforms like Facebook and Instagram.
- Email Marketing: Build a list of subscribers and send out newsletters with popular listings.
Step 8: Monitor and Analyze
Use tools like Google Analytics to monitor your website’s traffic and user behavior. This data will help you understand what’s working and where improvements are needed.
Call to Action
Building a profitable classified ads website requires effort, but with the right tools and strategies, it can be extremely rewarding. To ensure that your website runs smoothly and captures the interest of users, consider leveraging WafaTech’s NextGen WordPress Hosting.
For more detailed support on launching your website, check out WafaTech’s resources, and take the first step towards creating your very own classified ads platform!
Feel free to explore our other blogs for comprehensive guides and insights into WordPress and beyond!


