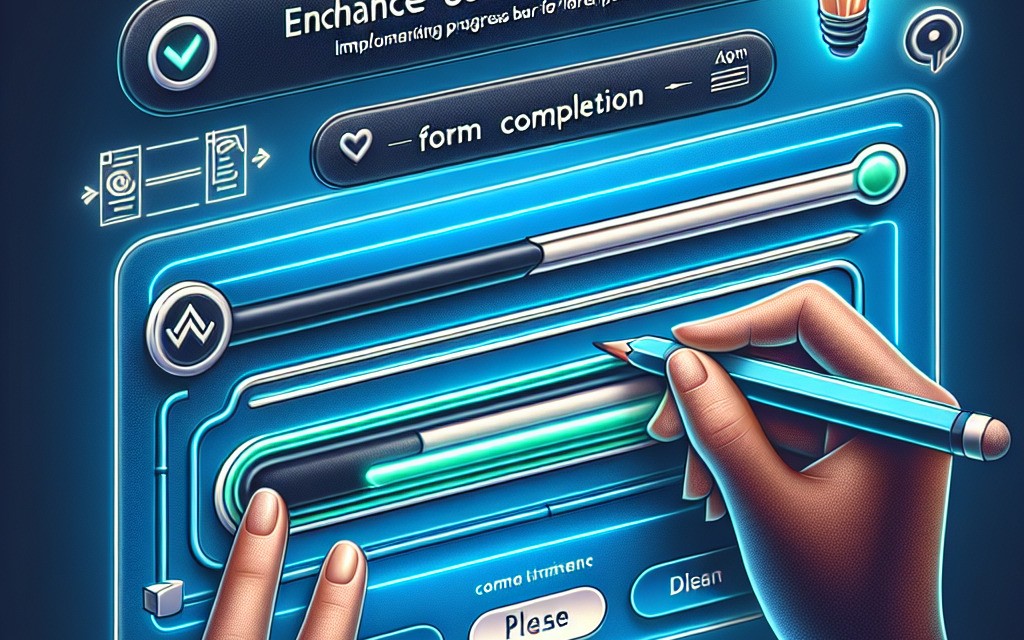
In today’s digital landscape, enhancing user experience (UX) is critical for retaining visitors and driving conversions. One of the simplest yet most effective ways to improve UX is by implementing a progress bar for form completion. This visual cue can provide users with an understanding of how much they have left to complete, making the process feel less daunting and more manageable.
Why Use a Progress Bar?
1. Reduces Anxiety
Forms, especially lengthy ones, can induce anxiety in users. A progress bar alleviates this by showing how far along they are in the process. It creates a sense of accomplishment as users see their progress.
2. Encourages Completion
When users can visualize their progress, they are more likely to complete the form. A study by the Nielsen Norman Group found that providing clear progress indicators can lead to higher completion rates.
3. Improves Clarity
A progress bar provides clarity about the steps involved in form completion. It can help users understand what to expect and how long the process will take, reducing frustration.
4. Boosts Engagement
Forms with interactive elements, such as progress bars, often lead to higher user engagement. Engaging design elements keep users invested in the task at hand.
Implementing a Progress Bar in WordPress
Selecting the Right Tools
To implement a progress bar effectively on your WordPress site, you can use various plugins or custom code. Below are some recommended tools that can help you:
-
WPForms: A user-friendly drag-and-drop form builder that allows you to create sophisticated forms, complete with progress bars. Learn more about WPForms
-
Gravity Forms: Another premium option that enables advanced functionalities, including conditional logic and a progress bar. Discover Gravity Forms here
-
Contact Form 7 with a Progress Bar Add-On: If you’re already using Contact Form 7, you can easily extend its functionality with a progress bar add-on. Check out Contact Form 7 documentation
Step-by-Step Guide to Adding a Progress Bar
-
Choose Your Plugin: Install a form builder plugin that supports progress bars, such as WPForms.
-
Create Your Form: After activating your plugin, go to the Forms section and click “Add New.” Use the drag-and-drop builder to select the fields you need.
-
Enable Progress Bar: Look for the settings to enable the progress bar feature. In WPForms, this can usually be found under “Form Settings.”
-
Customize Your Progress Bar: Depending on your plugin, you can customize the colors, style, and position of the progress bar to match your website’s design.
-
Test Your Form: Always test your form to ensure everything works as expected. Preview the form and check if the progress bar updates as you fill in each section.
-
Publish Your Form: Once you’re satisfied with your form, it’s time to publish it on your desired page or post.
Conclusion
Implementing a progress bar in your forms is a straightforward yet effective way to enhance user experience on your WordPress site. It can significantly reduce form abandonment rates and improve overall satisfaction among your users.
If you’re looking for a robust solution for hosting your WordPress site with excellent performance, consider WafaTech NextGen WordPress. With advanced features and dedicated support, we’re here to elevate your online presence. Discover more about WafaTech’s WordPress hosting solutions here.
Call to Action
Unlock the full potential of your WordPress site with WafaTech NextGen. Learn more about our hosting services and start your journey toward an enhanced digital experience today!
Feel free to explore additional resources on WordPress documentation here for further guidance on enhancing your website.


