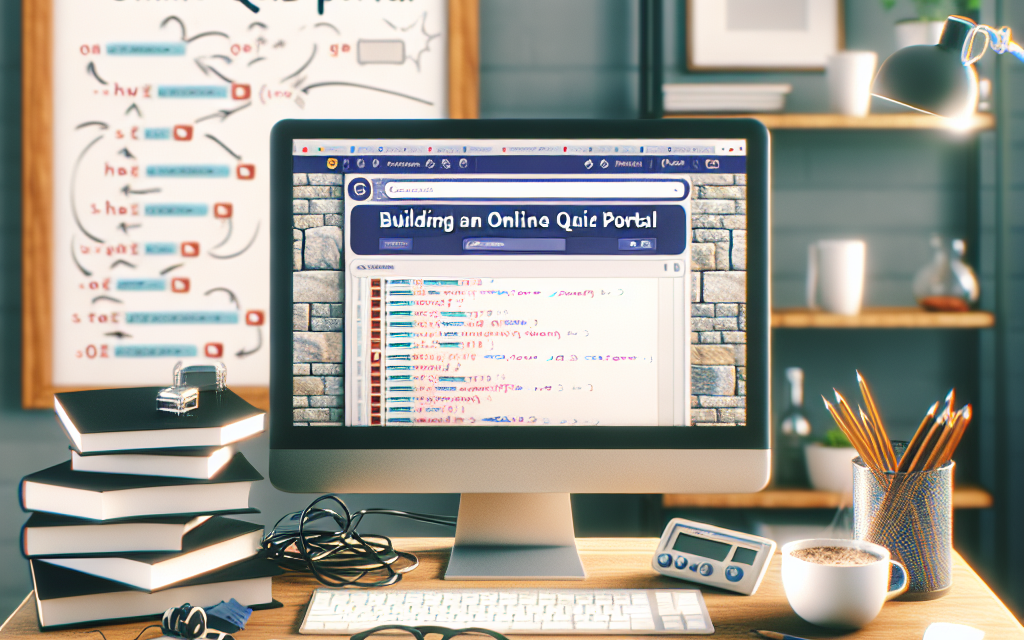
In today’s digital world, creating an engaging online quiz portal can be a rewarding venture. Whether you’re a teacher, a business looking to engage your audience, or just someone who loves quizzes, having your own platform can help you connect with your users effectively. This guide will walk you through the steps to build your own online quiz portal using WordPress.
Step 1: Choosing Your Hosting Provider
Before you can start building your quiz portal, you need a reliable hosting service. At WafaTech, we offer NextGen WordPress Hosting that makes setting up your website hassle-free. With excellent uptime, speed, and customer support, you can focus on creating your content without worrying about technical issues.
For more details about our hosting services, check out WafaTech NextGen WordPress.
Step 2: Install WordPress
Once you’ve chosen your hosting provider, the next step is to install WordPress. Most hosting providers, including WafaTech, offer one-click installations. Follow these steps:
- Log in to your hosting account.
- Locate the WordPress installer in your dashboard.
- Choose the domain where you want to install WordPress.
- Complete the installation process.
If you need guidance, refer to the official WordPress documentation.
Step 3: Select Your Theme
Choosing the right theme will determine the visual appeal of your quiz portal. There are many free and premium themes available that cater specifically to quiz or educational websites. Consider themes that are responsive and customizable.
You can browse themes on the WordPress Theme Directory to find one that suits your needs.
Step 4: Install Quiz Plugins
The real magic happens when you integrate quiz plugins into your WordPress site. Here are a few popular options:
- Quiz and Survey Master: A versatile plugin that allows you to create detailed quizzes and surveys.
- LearnDash: Perfect for creating courses with integrated quizzes.
- WP Quiz: A user-friendly plugin that enables you to create interactive and fun quizzes.
To install a plugin, navigate to your WordPress dashboard, go to Plugins > Add New, search for your desired plugin, and click Install Now.
Step 5: Create Your Quizzes
Once your quizzes have been set up, it’s time to create your first quiz! Follow the instructions from your chosen plugin to customize your quiz settings, including:
- Quiz title and description
- Question types (multiple choice, true/false, etc.)
- Scoring and grading options
Make sure to add engaging content that resonates with your audience.
Step 6: Customize Your Portal
Your quiz portal should reflect your brand. Customize your site by:
- Updating the logo and branding
- Selecting colors that match your brand identity
- Adding SEO-friendly content to your quizzes and pages
You can use tools like Yoast SEO or Rank Math to optimize your quizzes for search engines, increasing visibility.
Step 7: Promote Your Quiz Portal
After creating an engaging quiz portal, it’s time to share it with the world! Promote your quizzes through:
- Social media channels
- Email newsletters
- Collaborations with other bloggers or businesses
Encourage your audience to share their quiz results to expand your reach.
Step 8: Monitor and Optimize
After launching your quiz portal, monitor its performance using tools like Google Analytics. Analyzing user engagement and quiz performance can help you fine-tune your content and improve user experience.
Conclusion
Building your own online quiz portal using WordPress is an exciting project that can engage your audience and provide valuable insights. With the right hosting, themes, and plugins, you can create a unique platform tailored to your needs.
If you’re ready to embark on your WordPress journey, check out our hosting solutions at WafaTech NextGen WordPress. Your quiz portal awaits!
For more information and resources, visit the official WordPress documentation.
Happy quizzing!


