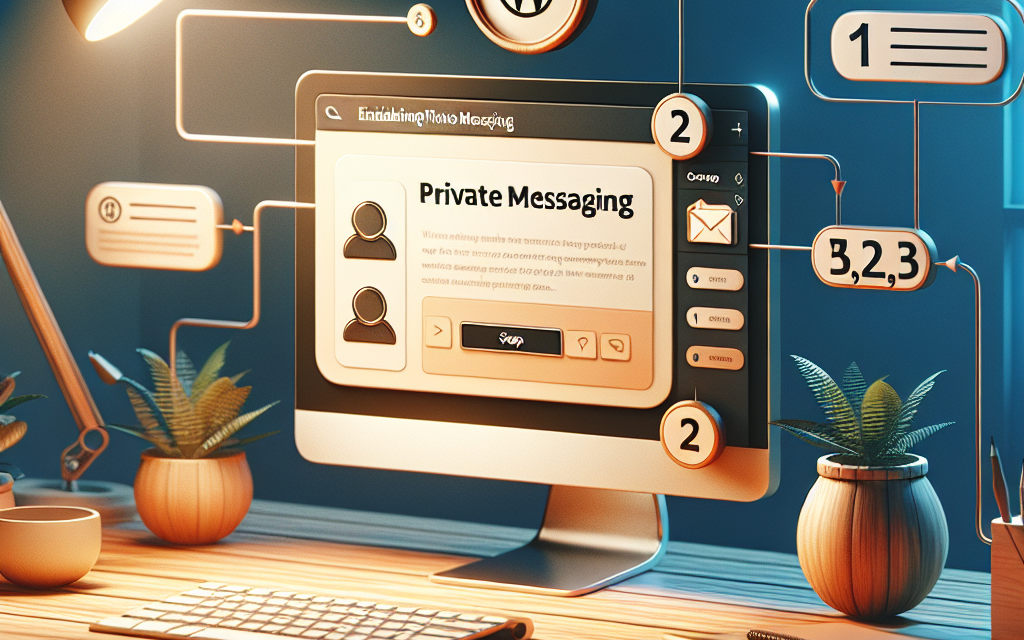
In today’s digital landscape, effective communication is key to engaging your audience. For WordPress site owners, private messaging can enhance user interaction, create a sense of community, and streamline user support. In this guide, we’ll walk you through the steps to enable private messaging on your WordPress site, ensuring that your visitors can easily connect with you and each other.
Step 1: Choose a Private Messaging Plugin
The first step to enabling private messaging on your site is selecting the right plugin. There are several options available, but here are some popular choices:
- BuddyPress: A powerful community plugin that includes private messaging features.
- WP Private Messages: A user-friendly plugin specifically designed for private messaging.
- Front End PM: Ideal for creating a private messaging system for your users.
For this guide, we will use WP Private Messages.
Step 2: Install the Plugin
- Log in to your WordPress dashboard.
- Navigate to Plugins > Add New.
- In the search bar, type “WP Private Messages”.
- Click Install Now and then Activate once the installation is complete.
Step 3: Configure Plugin Settings
- Once activated, you’ll find a new menu item labeled “Private Messages” in the WordPress dashboard.
- Click on it, then go to Settings.
- Customize the options according to your preferences. You can set notification preferences, message limits, and more.
Step 4: Add User Permissions
- Head to the Access Control settings within the plugin options.
- Assign message permissions based on user roles. For instance, you may want to allow only registered users to send and receive messages.
Step 5: Display Private Messaging
Now, let’s make the private messaging feature accessible on your site.
- Create a new page or post where users can access private messaging.
- Use the shortcode provided by the plugin to embed the private messaging interface. Generally, the shortcode looks like
[pm_messages].
Step 6: Test the Messaging System
Before you go live with the new feature, it’s essential to test the messaging system.
- Create a test user account and log in.
- Send and receive messages to ensure everything functions smoothly.
Step 7: Promote the Feature
Finally, let your users know about the new private messaging feature! You can:
- Announce it in a blog post.
- Add a note to your site’s homepage.
- Create a tutorial video showcasing how to use private messaging.
Conclusion
By following these steps, you can successfully enable private messaging on your WordPress site, fostering better communication among your users. This feature not only improves the user experience but also enhances community engagement.
For hosting solutions tailored to your WordPress needs, check out WafaTech NextGen WordPress Hosting. With reliable performance and exceptional support, WafaTech can help you take your website to the next level!
For more tools, tips, and documentation related to WordPress, visit the official WordPress site.
By taking these steps, you’re well on your way to establishing a vibrant community on your WordPress site. What are you waiting for? Start connecting with your audience today!


