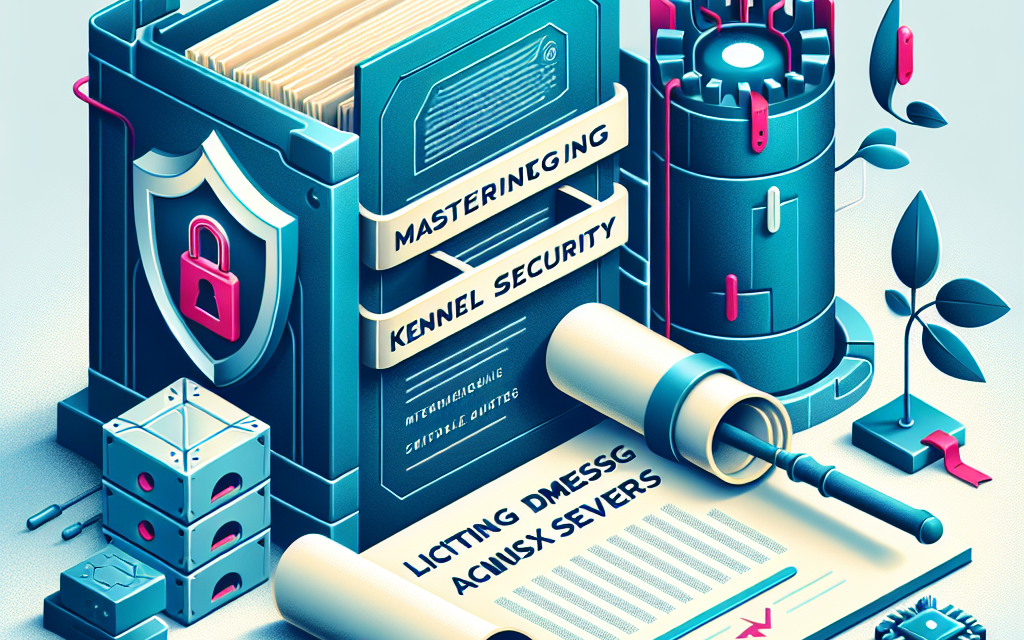
In the world of Linux server management, security is paramount. One often-overlooked aspect of system security is controlling access to the dmesg command. This command provides critical information about the system’s kernel ring buffer, which contains messages from the kernel that can reveal sensitive information about hardware, filesystem status, and even potential vulnerabilities. In this article, you’ll learn how to limit access to dmesg on Linux servers to enhance overall system security.
Understanding dmesg
The dmesg command displays kernel-related messages that can be invaluable for debugging and monitoring system performance. However, allowing unrestricted access to this command can lead to security risks, as malicious users can use it to glean information about kernel modules, device drivers, and other internals of the system.
For example, malicious actors might exploit this information to find security weaknesses or perform unauthorized actions. Therefore, it’s essential to manage who can execute the dmesg command and what information is displayed.
Why Limit dmesg Access?
-
Sensitive Information Leakage:
dmesgcan expose system configurations, paths, and hardware details that can be leveraged for an attack. -
Minimizing Attack Surface: By reducing unnecessary information exposure, you minimize potential entry points for attackers.
-
Compliance Requirements: Certain industries have regulations that mandate strict access control. Limiting
dmesgaccess can help in meeting compliance.
How to Limit dmesg Access
1. Modify Kernel Parameters
Linux provides a way to restrict access to dmesg output via kernel parameters. You can adjust the settings in /proc/sys/kernel/.
-
To make this permanent, add the following line to
/etc/sysctl.conf:bash
kernel.dmesg_restrict = 1 -
After making changes to
/etc/sysctl.conf, apply them with:bash
sudo sysctl -p
Setting kernel.dmesg_restrict to 1 will restrict access to dmesg output so that only users with root privileges can view it.
2. Adjust File Permissions
The dmesg command reads from /var/log/dmesg, which might be accessible to general users based on the system’s current configuration. Adjusting the file permissions can help in controlling access.
-
Check the current permissions:
bash
ls -l /var/log/dmesg -
To limit access, you can change the permissions using:
bash
sudo chmod 600 /var/log/dmesg
This command restricts access so that only the root user can read the dmesg log.
3. Use System Logging Tools
Another way to control what is seen in dmesg is to leverage system logging tools like rsyslog or journald.
-
Using rsyslog: Configure
/etc/rsyslog.confto avoid logging certain messages that you don’t want to expose to regular users. -
Using journald: You can customize the logging behavior to restrict how messages are displayed.
bash
mkdir -p /etc/systemd/journald.conf.d
echo “[Journal]\nStorage=persistent” | sudo tee /etc/systemd/journald.conf.d/01-custom.conf
sudo systemctl restart systemd-journald
4. Monitor Access
It is vital to monitor who accesses dmesg and logs to better understand potential security breaches. Use tools such as auditd to verify access logs.
To install auditd:
bash
sudo apt-get install auditd
Create a rule to monitor dmesg:
bash
sudo auditctl -w /var/log/dmesg -p rwxa
These logs will give insights into any attempt to access the dmesg log, making it easier to detect malicious activity.
Conclusion
Limiting access to the dmesg command is a simple yet effective way to enhance the security posture of your Linux servers. By implementing kernel parameters, adjusting file permissions, and utilizing logging tools, you can significantly mitigate the risk of sensitive information exposure.
In the ever-evolving landscape of cybersecurity, every small measure counts. Monitor your access logs, stay ahead of potential vulnerabilities, and fortify your systems against unauthorized access. By following these practices, you’ll be on your way to mastering kernel security on your Linux servers.
For more tips on security and best practices in managing Linux servers, stay tuned to WafaTech Blog!


