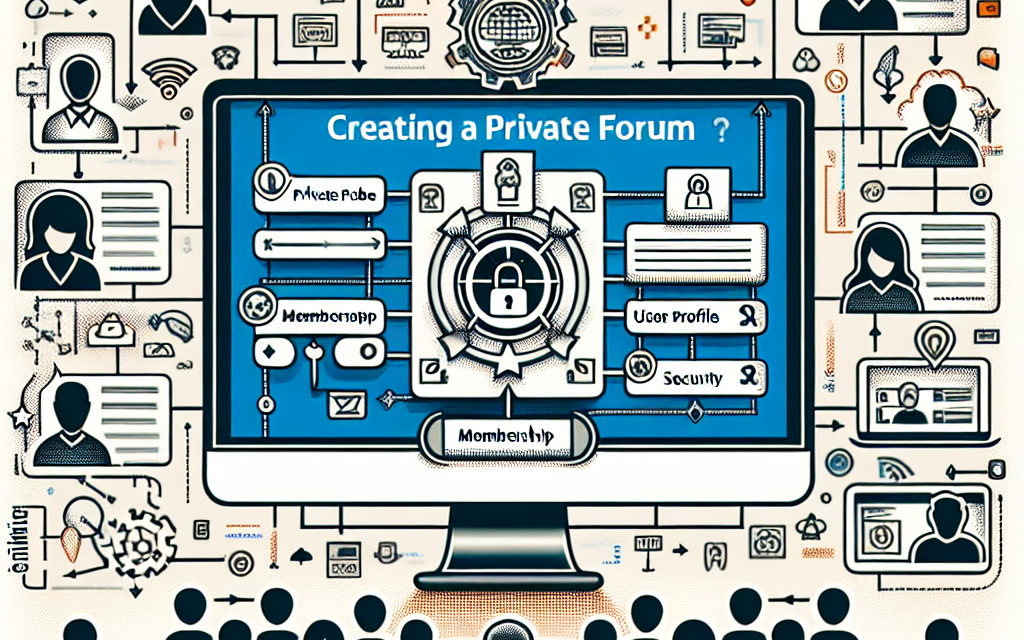
In today’s digital age, creating a sense of community is vital for any membership site. A private forum allows members to interact, share insights, and build relationships in a controlled environment. In this article, we’ll guide you through the process of setting up a private forum on your membership site, using WordPress.
Step 1: Choose the Right Forum Plugin
The first step in creating a private forum is selecting the right plugin. Popular options include:
- bbPress: A lightweight and straightforward solution for adding forums to your WordPress site. You can find more details in the bbPress documentation.
- BuddyPress: Ideal for building a social network within your site, offering forum capabilities as well. For more information, check the BuddyPress official page.
Make sure to choose a plugin that aligns with your community’s needs.
Step 2: Install and Activate the Plugin
After selecting your desired plugin, follow these steps:
- Log in to your WordPress Admin Dashboard.
- Navigate to Plugins > Add New.
- Search for your chosen plugin (e.g., bbPress or BuddyPress).
- Click ‘Install Now,’ and then click ‘Activate’ once the installation is complete.
Step 3: Configure Forum Settings
Once you activate the plugin, you will need to configure the settings:
- Go to the Forum Settings Page: For bbPress, navigate to Settings > Forums.
- Customize the settings to control permissions, user roles, and visibility.
- Set Up User Roles: Assign roles based on your membership tier. You can use a plugin like Members to customize capabilities easily. More information on the Members plugin can be found here.
Step 4: Create Forum Categories and Topics
Next, you’ll want to set up a structure for your forum:
- Add categories: Go to Forums > Categories to create categories for different discussion topics.
- Create topics: Under the created categories, start adding new topics to spark discussions among your members.
Step 5: Style the Forum
Your forum’s appearance is important for user engagement:
- Choose a theme: Make sure your WordPress theme is compatible with your forum plugin. Some themes are specifically designed for forums.
- Customize styles: Many plugins allow for additional styling options. Utilize CSS for any further customization.
Step 6: Set Up Member Registration and Access Control
To ensure your forum is private:
- Restrict access: Use membership plugins such as Paid Memberships Pro or Restrict Content Pro to manage who can access the forum. More about these plugins can be found on their respective pages and here.
- Create registration forms: Ensure that new members can smoothly register and gain access to the private forum.
Step 7: Promote Member Engagement
To foster a thriving community, consider these strategies:
- Host discussions: Encourage members to start discussions or ask questions.
- Reward participation: Consider gamification techniques, like badges or points, to reward active members.
- Regular updates: Keep the forum lively with regular posts or updates related to your niche.
Conclusion
Setting up a private forum on your membership site is a fantastic way to enhance community engagement and provide value to your members. By following these steps, you can create a robust platform conducive to discussion, networking, and support.
For a seamless experience while setting up your forum, consider using WafaTech NextGen WordPress Hosting. With optimized performance and dedicated support, it ensures your community remains active and accessible.
To learn more about WafaTech NextGen WordPress Hosting and how it can elevate your site, visit us here.
For more tips on WordPress plugins, settings, and community building, explore our range of articles on WafaTech Blogs and enhance your online presence knowledge!


