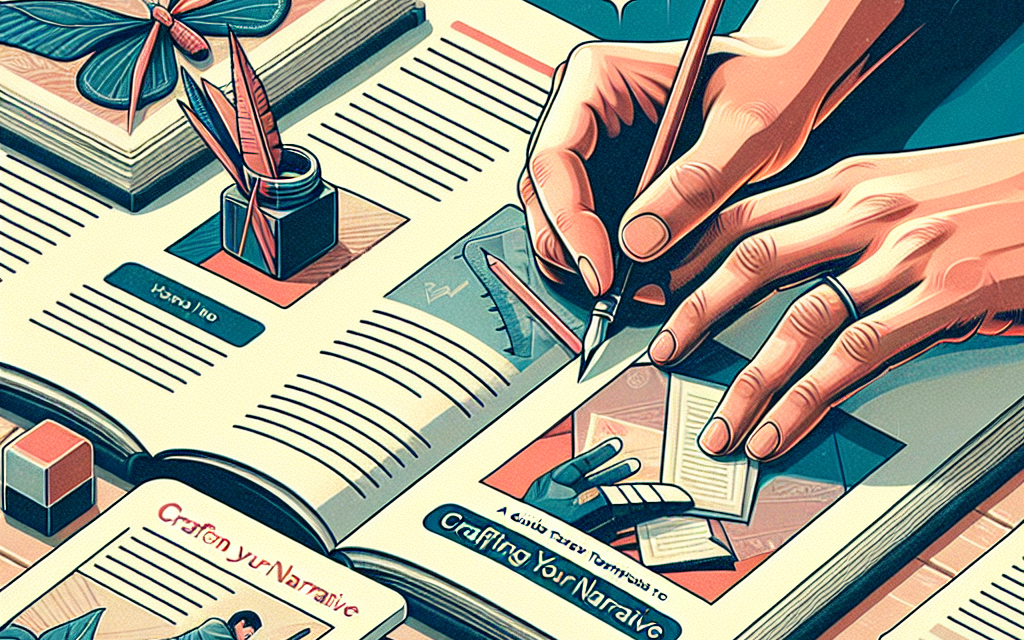
In the digital age, storytelling has become an art that combines creativity with technology. A well-crafted narrative can engage your audience, inspire action, and create a connection that transcends the pages of your blog. One of the key elements in bringing your stories to life is the use of custom templates. In this guide, we will explore how you can create beautiful, functional templates for your storytelling blog to enhance your narrative.
Why Custom Templates Matter
Custom templates allow you to tailor your blog’s visual identity to match your unique storytelling style. A consistent design not only reinforces your brand but also improves user experience, making it easier for readers to navigate through your stories. Here are some benefits of using custom templates:
- Brand Consistency: Custom templates can reflect your brand’s colors, fonts, and styles, ensuring that your blog feels cohesive.
- Enhanced User Experience: A well-designed template improves readability and navigation, allowing your audience to immerse themselves in your narrative.
- SEO Optimization: Custom templates can be optimized for search engines, helping you reach a larger audience.
- Increased Engagement: Engaging layouts can encourage readers to stay longer and interact with your content.
Getting Started with Custom Templates
-
Define Your Story Theme
- Consider the primary emotion you want your story to evoke—whether it’s nostalgia, adventure, or inspiration. This theme will guide your design choices.
-
Choose the Right Platform
- WordPress is an excellent platform for storytelling blogs due to its versatility and ease of use. For more advanced features, consider hosting through WafaTech NextGen WordPress, which offers tailored solutions for your hosting needs.
-
Select a Builder
- There are several WordPress page builders that allow you to create custom templates without writing code. Some popular options include:
- Each tool has its own set of features and templates that can help you bring your stories to life.
- There are several WordPress page builders that allow you to create custom templates without writing code. Some popular options include:
-
Customize Your Template
- Once you’ve chosen a builder, you can start creating your custom template. Here are some design elements to consider:
- Header: Use an eye-catching header with an engaging tagline to draw readers in.
- Typography: Choose fonts that are easy to read and resonate with your narrative style.
- Visuals: Incorporate images, graphics, or videos that complement your text and reinforce your storytelling.
- Layout: Opt for a clean layout with plenty of white space to ensure your readers can focus on your content.
- Once you’ve chosen a builder, you can start creating your custom template. Here are some design elements to consider:
-
Utilize Plugins for Enhancement
- Enhance your blog’s functionality with various plugins, such as:
- Yoast SEO: Optimize your posts for search engines.
- Smush: Optimize images for faster loading times.
- Social Sharing Plugins: Encourage sharing your stories across platforms.
- Enhance your blog’s functionality with various plugins, such as:
Testing and Launching Your Blog
Before going live, ensure that your custom template works well across different devices and browsers. Test for functionality, including links, social sharing buttons, and forms. Make adjustments as needed to ensure a seamless user experience.
Conclusion
Crafting a compelling narrative through your storytelling blog is not just about the words you write—it’s also about how you present them. By leveraging custom templates, you can create an engaging experience that resonates with your audience and enhances your narrative.
Call to Action
Ready to elevate your storytelling blog? Explore WafaTech NextGen WordPress for powerful, tailored hosting solutions that will help you unleash your creativity. Start crafting your narrative today!
For more resources and support, visit the official WordPress documentation to dive deeper into customizing your blog. Happy blogging!


