
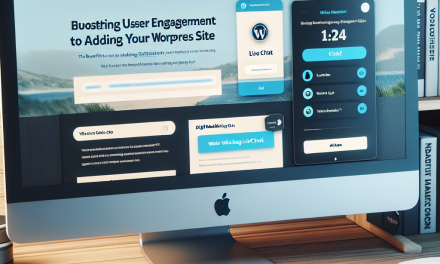
In today’s digital landscape, having a visually appealing website can significantly enhance user experience and engagement. One way to create a captivating design is by incorporating custom animations. Whether you want to highlight specific content or make your website more dynamic, custom animations can do the trick! This step-by-step guide will walk you through the process of adding custom animations to your WordPress website.
Step 1: Choose the Right Plugin
There are several plugins available that can help you add animations without needing heavy coding knowledge. Some popular choices include:
- Animate It!
- WP Animation
- Page Animations and Transitions
For this guide, we’ll use the Animate It! plugin due to its user-friendly interface and wide range of options. You can download it from the WordPress Plugin Directory.
Installation
- Navigate to Your Dashboard: Log in to your WordPress admin area.
- Go to Plugins > Add New: Search for "Animate It!" in the plugin repository.
- Install and Activate: Click the "Install Now" button, and once installed, activate the plugin.
Step 2: Configure Plugin Settings
Once installed, you need to configure the plugin settings:
- Access Settings: Go to
Settings > Animate It!. - Select Default Settings: Choose your preferred animation effects, duration, and delay for the animations.
- Save Changes: Don’t forget to save your settings before you exit.
Step 3: Apply Animations to Your Content
Now that the plugin is configured, it’s time to apply animations to your content.
- Edit Your Page or Post: Go to the page or post where you want to add animations.
-
Enter Animation Shortcode: You can use the following shortcode to add animations:
[animate_it]Your Content Here[/animate_it]
Replace "Your Content Here" with the actual text or element you want to animate.
-
Customize as Needed: You can modify the animation by adding parameters to the shortcode. For instance, you can specify the animation type:
[animate_it animation="bounce"]Your Content Here[/animate_it]
Step 4: Preview Your Changes
Before publishing, it’s crucial to preview your changes to ensure everything looks as expected.
- Click on Preview: In the WordPress editor, click on the preview button to see how the animations will appear on your live site.
- Adjust if Necessary: If the animations don’t look right, go back and tweak the shortcode parameters or plugin settings.
Step 5: Publish Your Content
Once you’re satisfied with the animations, publish your post or page. Congratulations! You’ve successfully added custom animations to your WordPress website.
Best Practices for Using Animations
While animations can enhance your website’s aesthetic, it’s essential to use them judiciously. Here are some tips:
- Keep It Subtle: Overusing animations can overwhelm users. Choose a few key areas to animate.
- Focus on User Experience: Ensure that animations enhance, rather than distract from, your content.
- Test Responsiveness: Make sure animations work well on mobile devices and different screen sizes.
Conclusion
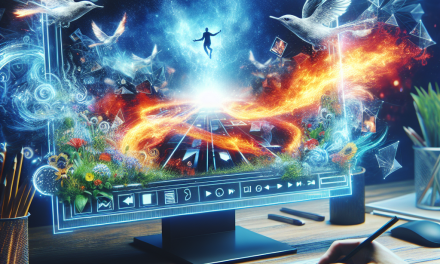
Custom animations can breathe life into your WordPress website, making it more engaging and visually appealing. With the right plugins and a little creative flair, you can transform your posts and pages into dynamic experiences.
Call to Action for WafaTech NextGen WordPress
Are you ready to elevate your WordPress website to the next level? Experience faster load times and seamless integration with custom features using WafaTech’s NextGen WordPress Hosting. Explore our offerings today to unlock the full potential of your website!
For more WordPress tips and tricks, be sure to check out our other blog posts and the official WordPress documentation. Happy animating!

