
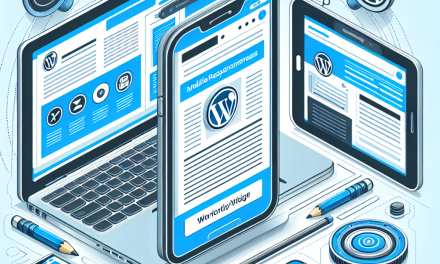
In today’s fast-paced digital landscape, efficiency is key to maintaining a productive workflow. One of the most effective ways to boost your productivity is through automation. For WordPress users, integrating Zapier can transform how you manage your tasks, saving you time and reducing the risk of errors.
What is Zapier?
Zapier is a powerful automation tool that connects your favorite apps and services. By creating "Zaps," which are automated workflows, you can make tasks seamless and eliminate the need for manual data entry. For instance, you can automatically share a new blog post on social media or add new subscribers to your mailing list. The possibilities are endless!
Why Integrate Zapier with WordPress?
Integrating Zapier with your WordPress site offers numerous benefits:
- Time Savings: Automate repetitive tasks like content sharing, data entry, or email notifications.
- Error Reduction: Minimizing manual tasks reduces the chance of human error.
- Focus on What Matters: Spend more time on creative tasks and less time on mundane processes.
- Versatility: With thousands of supported apps, Zapier offers endless automation possibilities.
Getting Started with Zapier and WordPress
Step 1: Create Your Zapier Account
If you haven’t already, start by signing up for a free Zapier account. The free tier offers ample opportunities to experiment with automation.
Step 2: Connect WordPress with Zapier
-
Install the Zapier Plugin: Go to your WordPress dashboard, navigate to Plugins > Add New, and search for "Zapier." Install and activate the Zapier for WordPress plugin.
- Set Up Your API Key: After activation, navigate to the Zapier plugin settings to generate your API key. You will need this to connect WordPress with Zapier.
Step 3: Create Your First Zap
-
Choose a Trigger: In Zapier, select what will trigger your automation. For example, you might want to trigger a Zap when a new post is published on your WordPress site.
-
Set the Action: Choose the action that should be performed after the trigger. This could be anything from sending an email, posting to social media channels, or adding a new contact to your CRM.
- Customize Your Zap: Fill out the necessary details for the trigger and action. Zapier provides a straightforward interface that makes it easy to tailor the settings.
Example Workflow Integrations
- Autoposting to Social Media: Automatically share new posts to your Twitter, Facebook, or Instagram account.
- Email Notifications: Send an email to your subscribers every time you publish a new article.
- Feedback Collection: Automatically send a new survey or feedback form to your audience when a post goes live.
Step 4: Test Your Zap
After setting everything up, it’s crucial to test your Zap to ensure it works as expected. This step helps you catch any issues before going live.
Step 5: Monitor and Optimize
Once your Zaps are running, monitor their performance. If you find certain automations are not delivering the expected results, adjust them accordingly.
Conclusion
Integrating Zapier with WordPress can streamline your workflow, boost productivity, and allow you to focus on what truly matters—creating great content. Whether you’re a blogger, entrepreneur, or anyone managing a WordPress site, automation is now more accessible than ever.
If you’re looking to take your WordPress experience a step further, consider exploring WafaTech NextGen WordPress Hosting. Our advanced hosting solutions are designed to accelerate your workflow and take your website to new heights. For more information and to check our features, click here!
References:
By harnessing the power of Zapier and the robust features of WordPress, you’re not just enhancing your workflow, but also setting the stage for growth and success in the digital realm. Start automating today!

