In today’s visually-driven digital landscape, the importance of striking, professional images cannot be overstated. Whether you’re a blogger, a photographer, or a business owner, displaying your images in a captivating manner can be the key to engaging your audience. One of the most effective ways to achieve this is through advanced gallery creation using sliders in WordPress.
Why Use a Slider for Your Gallery?
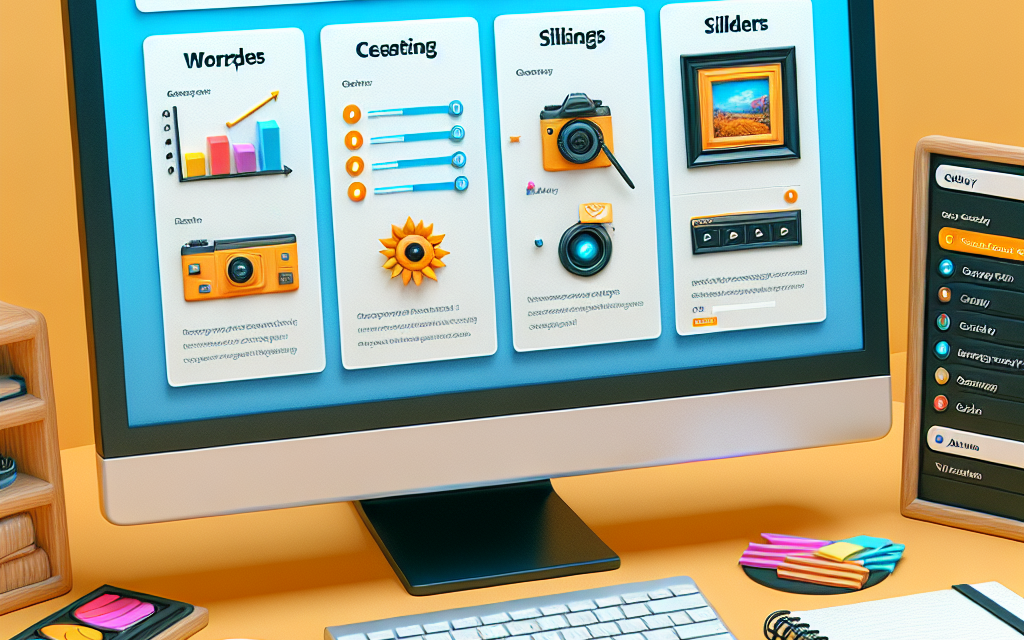
Sliders offer dynamic, interactive displays of images that can elevate your content significantly. They are not only visually appealing but also save space, allowing you to showcase more images without overwhelming your visitors. By mastering the art of advanced gallery creation with sliders, you can enhance the user experience and drive more engagement.
Benefits of Using Sliders:
- Space Efficiency: Sliders condense several images into one dynamic area, leaving your webpage looking clean and organized.
- Enhanced Visuals: With animation effects and transition options, sliders can make your galleries pop, grabbing your audience’s attention.
- Responsive Design: Most slider plugins come with responsive designs, ensuring that your images look great on all devices.
- Customizability: You can customize sliders with various settings, including transitions, speed, and captions to fit your website’s theme.
Getting Started with Advanced Gallery Creation
Step 1: Choose the Right Plugin
The first step in creating a slider gallery is selecting a plugin that meets your needs. Popular options include:
- Soliloquy: A powerful slider plugin that offers drag-and-drop functionality and pre-built templates.
- Slider Revolution: A premium option that provides advanced features and customization options.
- MetaSlider: An easy-to-use plugin with integration capabilities, which supports multiple slider types.
For an in-depth understanding of each plugin, you can check the WordPress Plugin Directory.
Step 2: Install Your Chosen Plugin
- Navigate to your WordPress dashboard.
- Go to Plugins > Add New.
- Search for your chosen slider plugin and click Install Now.
- After installation, activate the plugin.
Step 3: Create a New Slider
Once the slider plugin is activated, follow these steps to create your first slider gallery:
- Go to the slider plugin’s settings in your dashboard.
- Click on Add New Slider.
- Upload your images or select images from your media library.
- Arrange the images in your desired order.
- Configure settings like slider dimensions, transitions, and appearances to fit your website’s layout.
Step 4: Publish and Embed the Slider
After creating the slider gallery:
- Save your changes.
- Copy the unique shortcode generated by the plugin.
- Go to the page or post where you would like to display the slider.
- Paste the shortcode into the content area.
- Update or publish your page to see your new gallery in action.
Step 5: Optimize Your Sliders
To ensure optimal performance:
- Image Optimization: Use tools like Smush or Imagify to compress images without losing quality.
- Responsive Testing: Test your slider across multiple devices to ensure it adapts correctly.
- User Feedback: Ask for feedback on gallery functionality and aesthetic appeal from users and adjust as needed.
Best Practices for Gallery Sliders
- Limit the Number of Slides: Too many images can overwhelm visitors. Stick to a manageable number that best represents your content.
- Use High-Quality Images: Invest in professional photography or high-resolution images to boost visual appeal.
- Incorporate Captions and Descriptions: Provide context for your images, enhancing user engagement and SEO.
- Keep Navigation Simple: Ensure that navigation buttons are clearly visible and easy to use.
Conclusion
Mastering advanced gallery creation with sliders in WordPress can significantly enhance your site’s visual appeal and user experience. With just a few steps and the right tools, you can create beautiful, functional galleries that keep your visitors engaged.
If you’re ready to take your WordPress journey to the next level, consider exploring WafaTech’s NextGen WordPress Hosting. With powerful tools, exceptional security, and customer support, you can create and manage amazing websites effortlessly.
For more information about WordPress, you can also check the official WordPress documentation. Happy Slideshow Creating!
Feel free to leave your questions or share your experiences with creating sliders in the comments below!


