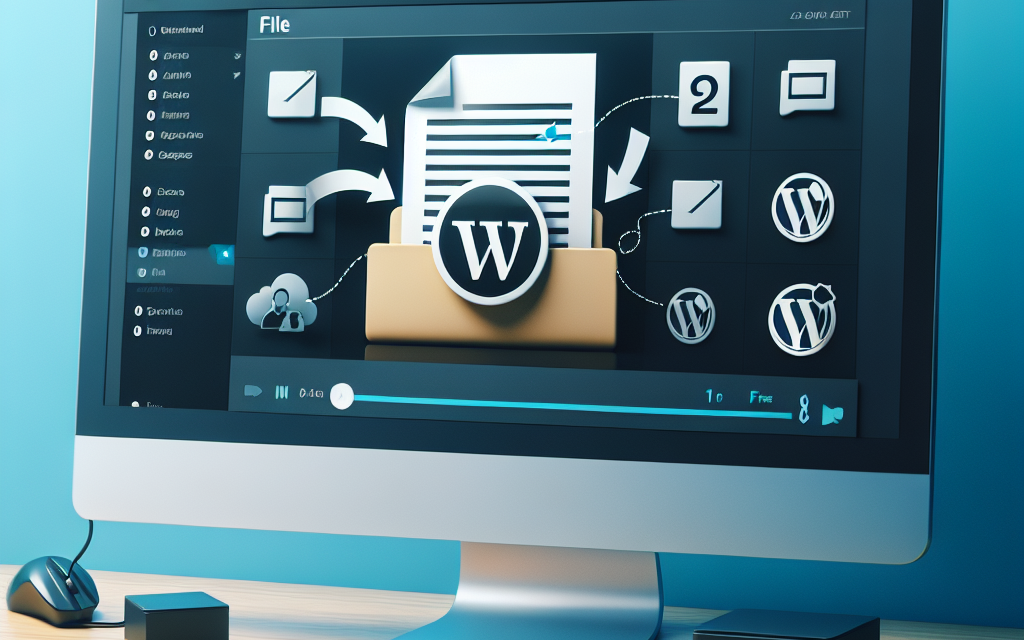
Are you looking to share downloadable files on your WordPress site? Whether it’s an eBook, a PDF report, or any other type of file, WordPress makes it straightforward to add downloadable content. In this guide, we will walk you through the essential steps to successfully add downloadable files to your WordPress site.
Step 1: Prepare Your File
Before you can add a downloadable file, make sure it’s uploaded and ready to go. Keep in mind that WordPress supports several file types for downloads, including PDFs, DOCs, XLS, ZIP, and more. If your file meets the requirements, you can proceed to the next step.
Step 2: Upload the File to Your WordPress Media Library
-
Log In to Your WordPress Dashboard
Go to your website URL followed by
/wp-adminand enter your login credentials. -
Navigate to Media
In the left-hand menu, click on ‘Media’ and then select ‘Add New’.
-
Upload Your File
Drag and drop your file into the upload area or click on ‘Select Files’ to browse your computer. Once the upload is complete, click on the file to access its details.
- Copy the File URL
In the file details, you will see a ‘File URL’ field. Copy this URL as you will need it later.
Step 3: Create a Download Link in a Post or Page
-
Open the Post or Page Editor
Go to the ‘Posts’ or ‘Pages’ section in the left-hand menu and select the content where you want to add your downloadable file. If you are creating new content, click ‘Add New’.
-
Add Link Using the Block Editor
- Use a Text Block, Button Block, or any other block type that suits your needs.
- Highlight the text you want to turn into a download link.
- Click the ‘Link’ icon (a chain link) in the toolbar.
- Paste the URL of the file you copied earlier and hit ‘Enter’ or click the apply icon.
- Publish or Update Your Content
Once you are satisfied with your post or page, click ‘Publish’ or ‘Update’ to save your changes.
Step 4: Use a Dedicated Plugin for Enhanced Features (Optional)
If you’re looking for more advanced functionality or management of downloadable files, consider using a dedicated WordPress plugin. Here are a few popular options:
-
Easy Digital Downloads: This plugin is great for selling digital products and includes features like file access control and purchase history tracking. Learn more about Easy Digital Downloads.
- Download Monitor: A powerful plugin that allows easy management of downloadable files with detailed statistics. Explore Download Monitor.
To install a plugin, go to the ‘Plugins’ section of your dashboard, select ‘Add New’, search for the desired plugin, and click ‘Install Now’. After installation, remember to activate it.
Step 5: Test Your Download Link
After publishing your content, make sure to check that your download link works correctly. Click the link on your live website and ensure that the file downloads as expected.
Conclusion
Adding downloadable files to your WordPress site is a straightforward process that can enhance user experience and provide valuable resources to your audience. Whether you choose to use the built-in media library or opt for a dedicated plugin, you can make your content more interactive and engaging.
Call to Action
Ready to take your WordPress site to the next level? Consider WafaTech’s NextGen WordPress hosting solutions. With optimized performance and excellent support, you can ensure a seamless site experience for you and your visitors. For more details, explore our offerings here.
Happy blogging!
For more guidance and tools, visit the official WordPress Documentation for in-depth instructions and tutorials.


